Have you been thinking about migrating to a new accounting system, but the complexity of the process was holding you back? Well, what if we told you that it is not an issue anymore and you can effortlessly migrate from one platform to another? The thing is that from now on, you can run an automated data migration on your own with the help of the Migration Wizard tool. Check this article for more information.
What is Migration Wizard
Being an automated tool for data migration, Migration Wizard can help you to transfer your records from one accounting system to another in a fast, secure, and easy way. In addition to that, its highly intuitive interface will assist you in migrating your data without any extraordinary technical knowledge.
Simply put, Migration Wizard is an application for an automated data migration that will move your records on its own, requiring minimum effort from your side. So, go through the guide mentioned below to learn how you can use Migration Wizard to transfer your records.
How to migrate your data in an automated way
To transfer your data from one accounting system to another, do the following:
1. Open Migration Wizard and sign in or log into your account.
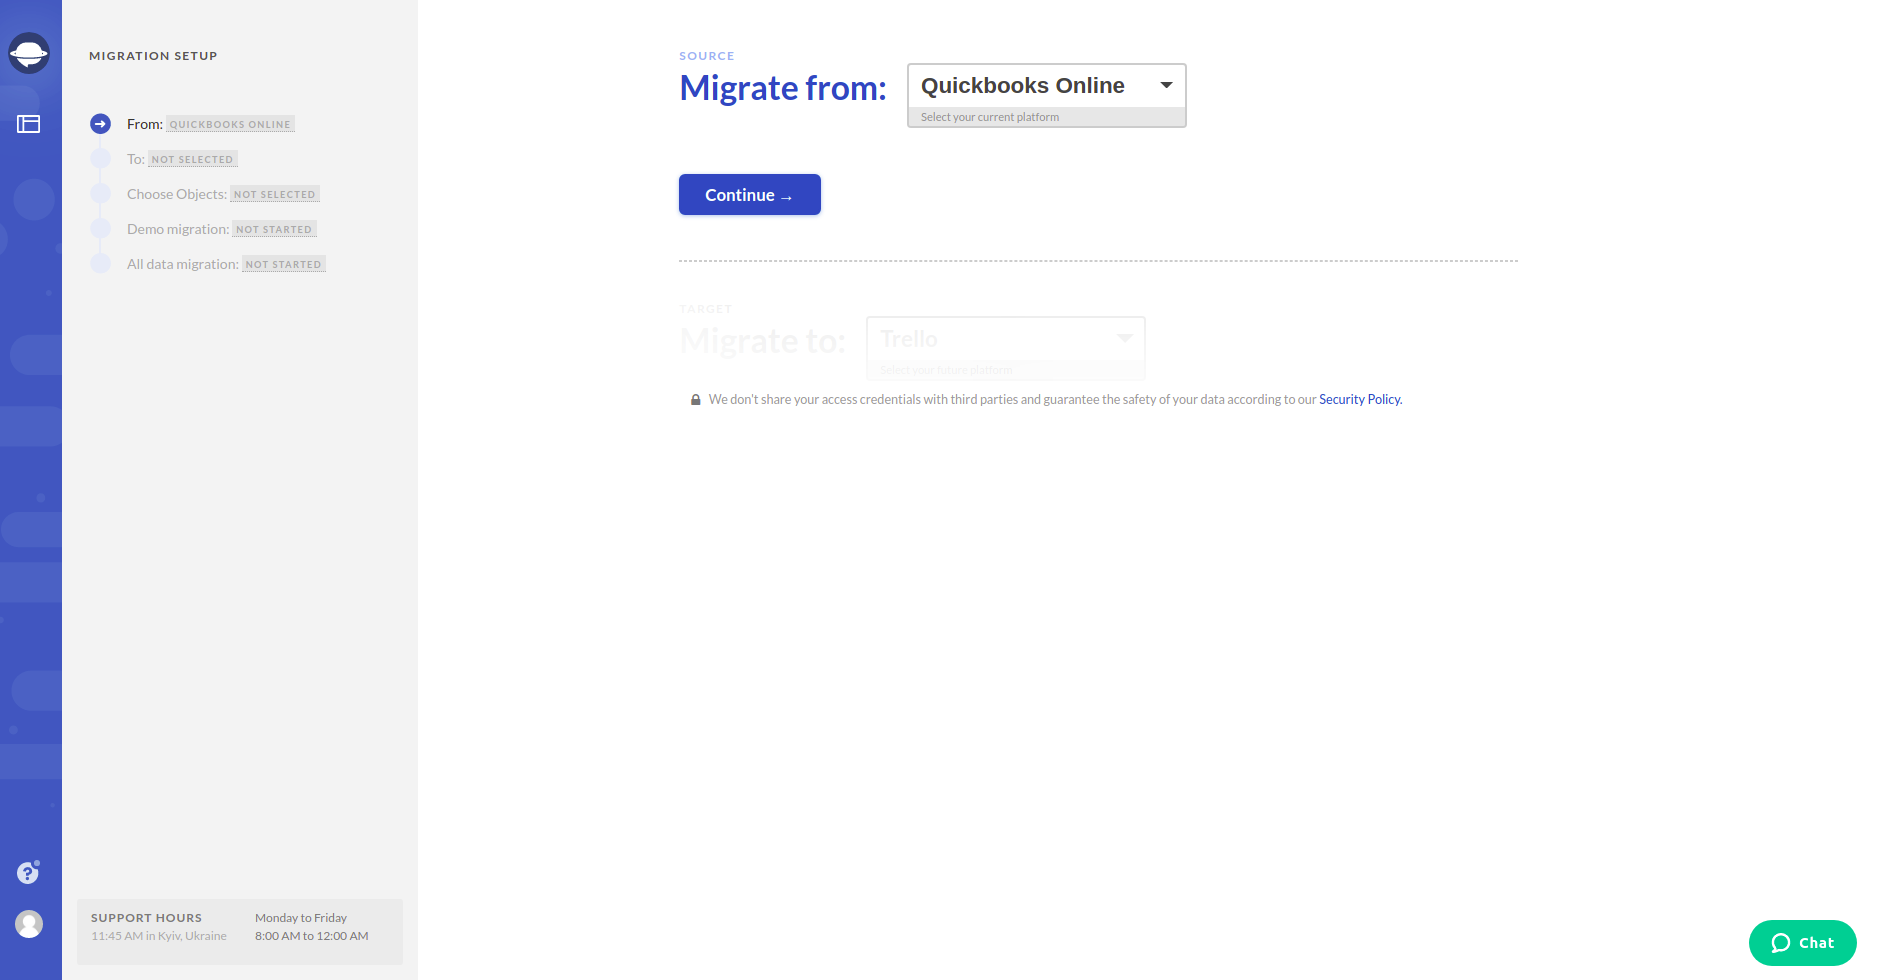
2. Choose your source platform from a variety of Supported Platforms. Fill in the necessary credentials and, thus, connect it to the tool.
Note: Sometimes, depending on a platform you're migrating to or from, the tool might ask you to configure your connection.
3. Similar to what you’ve just done with your source platform, choose a target of your data and type in all the needed information to connect it to Migration Wizard. You might again need to configure your connection.
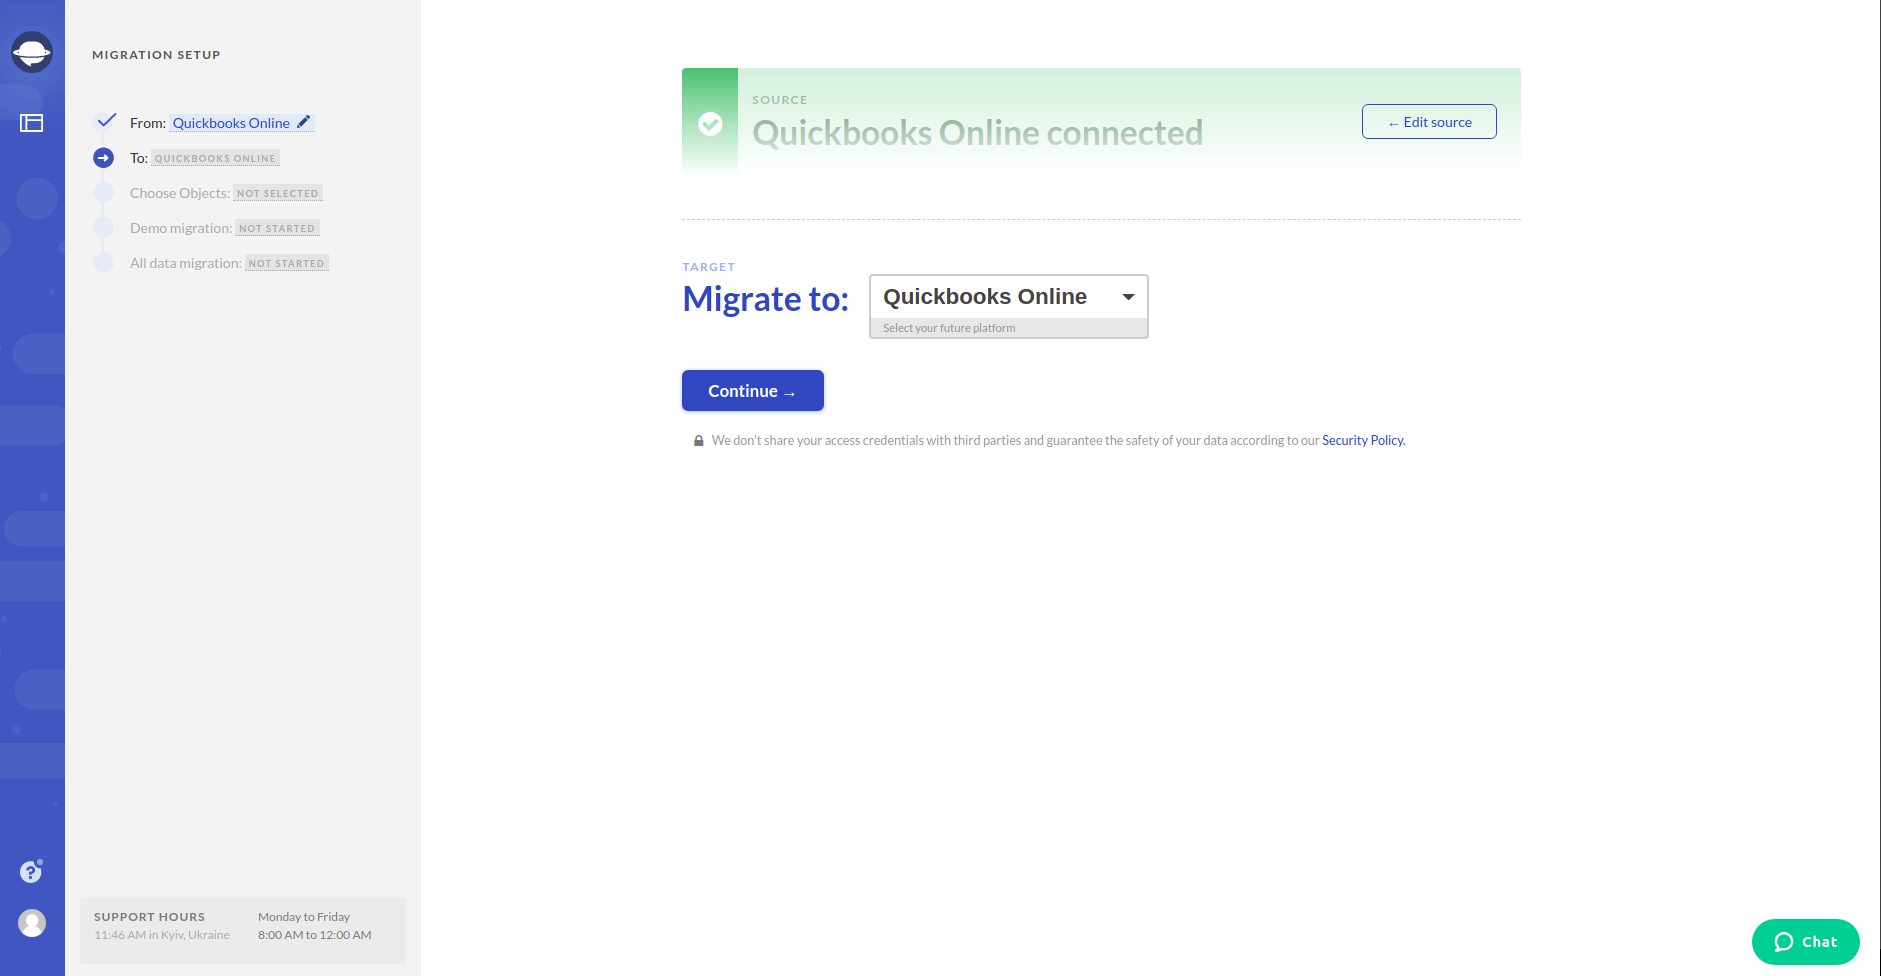
Note: If either your source or your target platform is not in the dropdown menu of Migration Wizard, contact us, and we’ll do our best to find a solution for you.
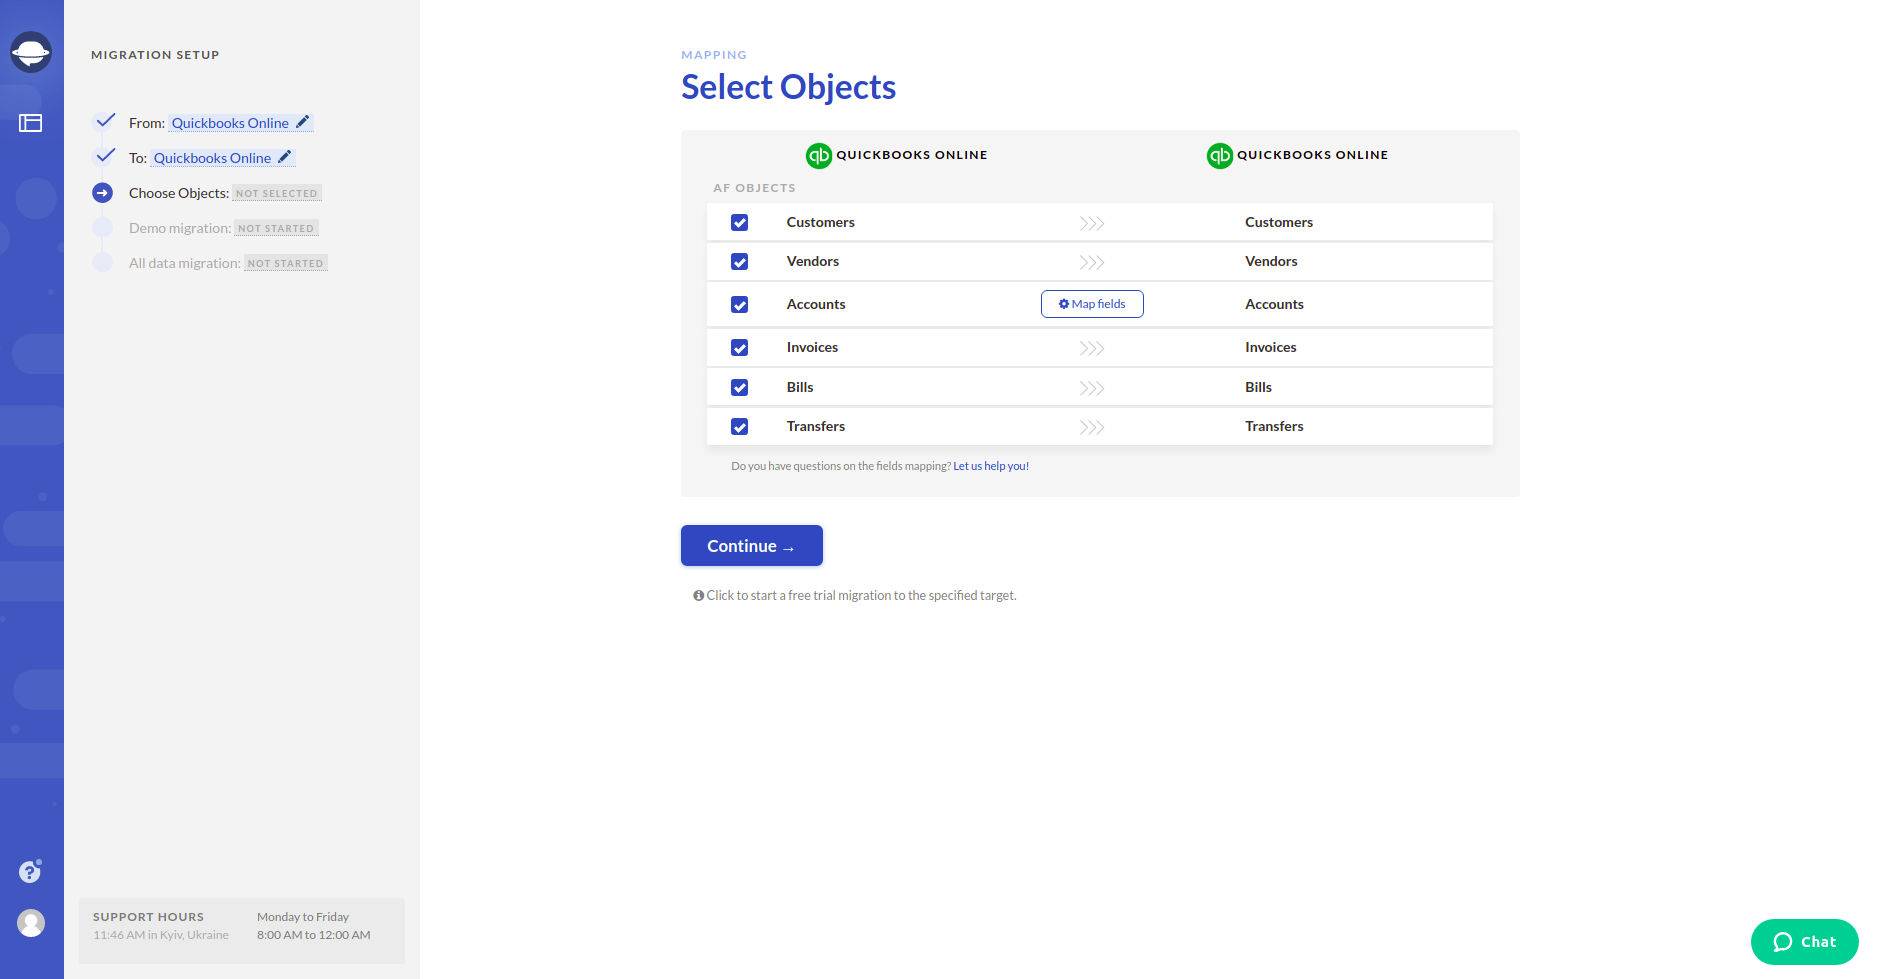
4. Select the objects you’d like to transfer from your current platform to a new one.
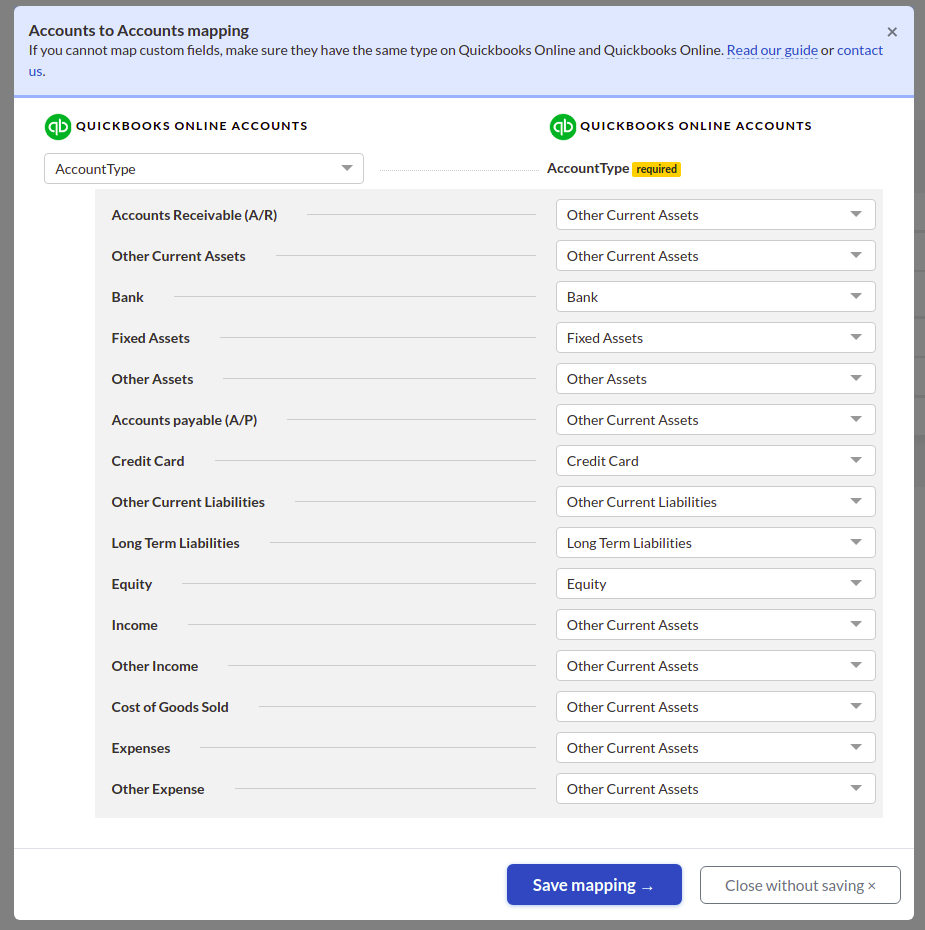
5. Map the route of your data to make sure it migrates the way you want.
6. Start a free demo migration and check its result when it’s complete. Do it by going across the information on how your data got transferred.
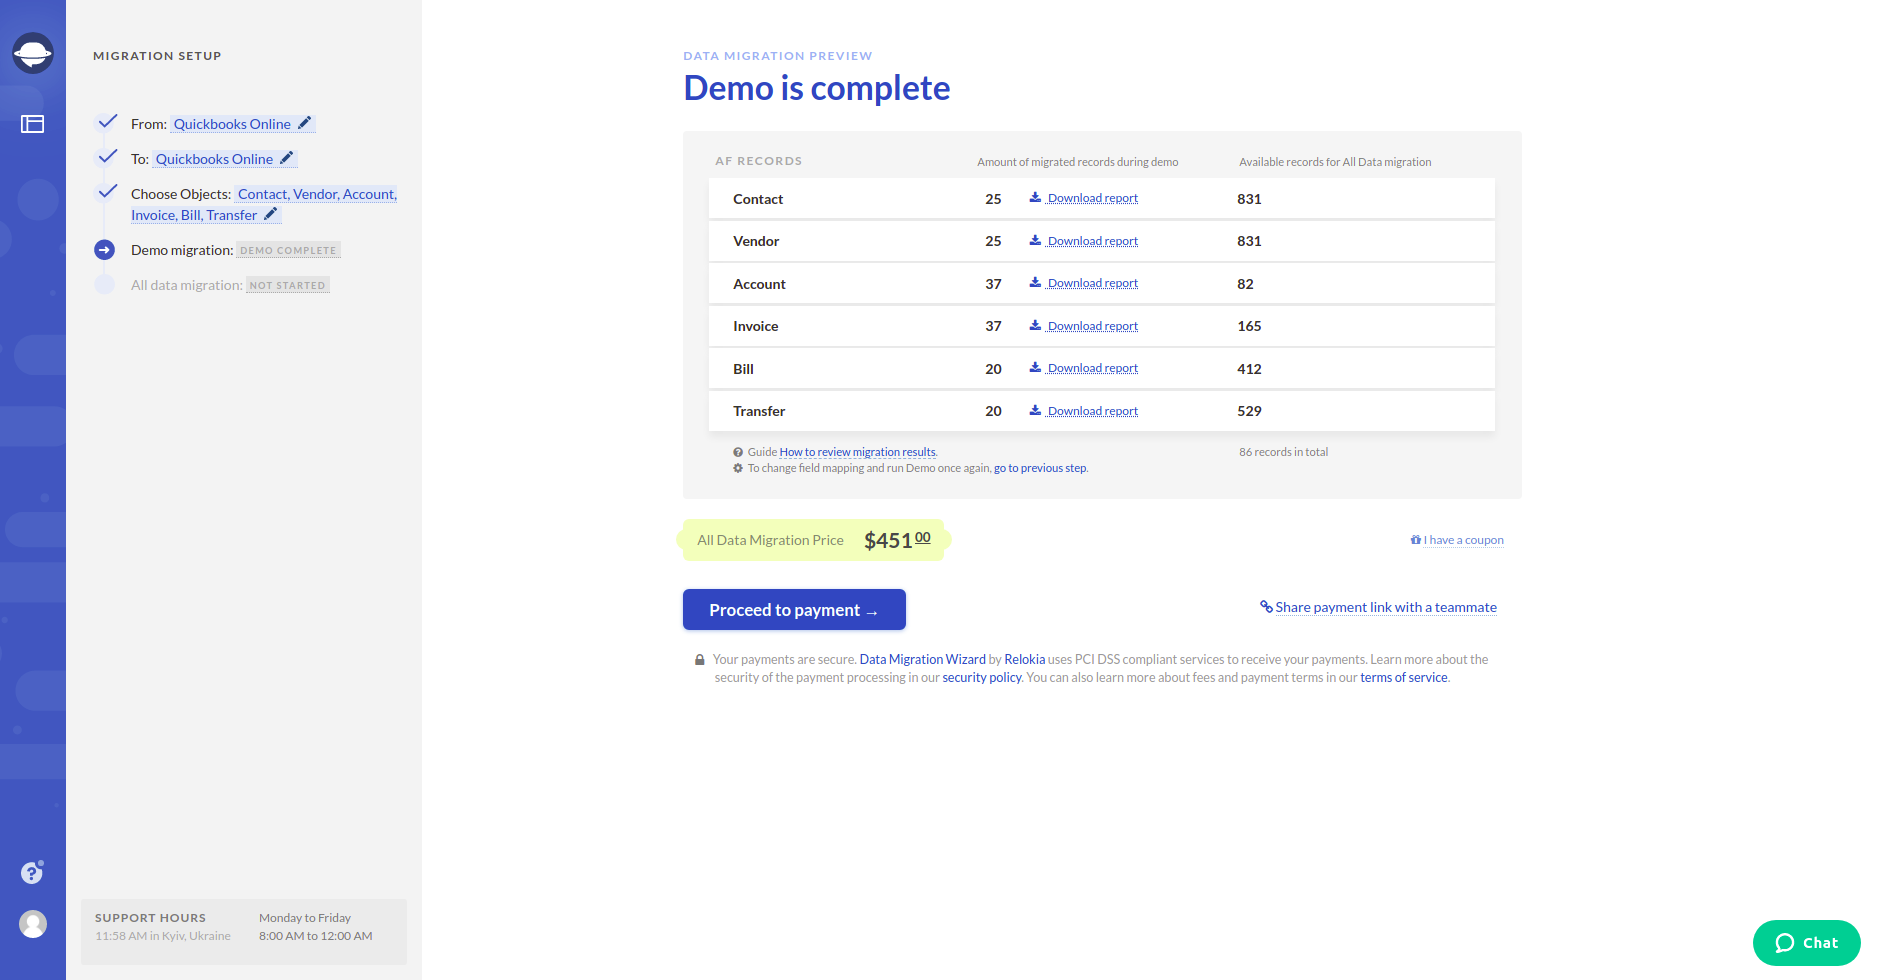
Note: Proceed with the next step only if you are happy with your demo migration result. If there is anything you’d like to change, contact us immediately.
7. Move forward with the Full Data Migration to transfer all the needed data from one platform to another.
Let’s transfer your data via an automated tool!
Now you know that you can migrate your data in an automated way. So, how about transferring your records quickly and securely right away? Just go to Migration Wizard, migrate your data via an automated tool, and enjoy using your new platform!


