It becomes easier to keep a close look at your books as soon as you launch your Odoo migration. Say no to the manual data migration with the Accounting System Migration Service. Let’s move your data from Odoo Accounting in a few clicks.
Why Use the Automated Data Migration Service?
Time is the most important currency of all. That’s why you don’t need to waste it on manual data migration. So, if you want to transfer your data from Odoo, think about using the Accounting System Migration Service. Here is why:
- No tax, bill or invoice are left behind during the automated data migration.
- The straightforward interface allows you to set up your Odoo migration by yourself.
- Thanks to the field mapping, you can easily find your data after the migration.
Odoo Migration: What Data You Can Export?
With the help of the Accounting System Migration Service, you can migrate from Odoo Accounting the following list of data:
- Customers
- Vendors
- Accounts with their Open Dates
- Invoices along with their taxes, dates, and “Due” dates
- Bills together with their dates and “Due” dates
- Products
Double-check these things before the Free Demo Migration:
- Account open dates migrate as the creation dates of accounts.
- The sums with millicent in invoices and bills round up after the data migration.
- Your Database name is the name of your subdomain.
Note: If the records you want to migrate from Odoo Accounting aren’t available for the automated data migration, you can customize your data import anyway you need it. Just contact our support team to discuss the details and arrange the migration process to meet your requirements.
How to Launch Your Automated Odoo Migration?
1. Open Migration Wizard and log into your account. If you haven’t used our service before, sign in with your email or social media account.
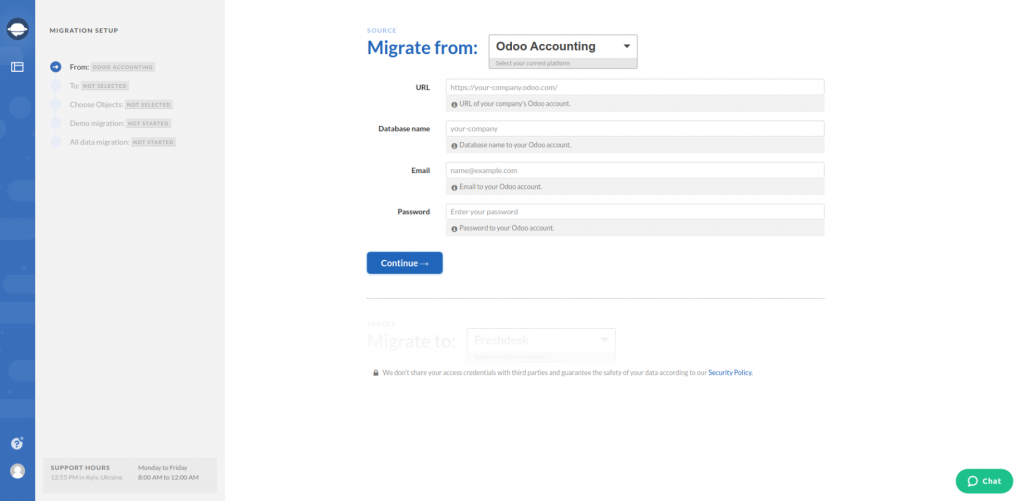
2. Select Odoo Accounting as your source accounting system and fill in your URL, Database name, Email, and Password.
3. Choose your target platform and provide all required information.
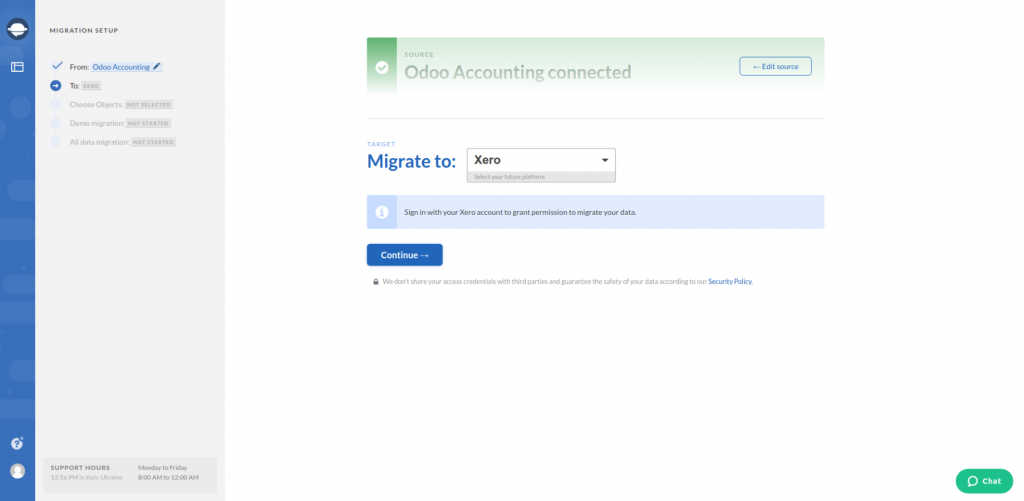
Note: Go to Supported Platforms to ensure that Migration Wizard supports the automated data migration to your targeted accounting or invoicing platform.
4. Define the objects you want to migrate from Odoo Accounting. As you proceed with this step, check out the table. It displays all modified AF objects after the data migration.
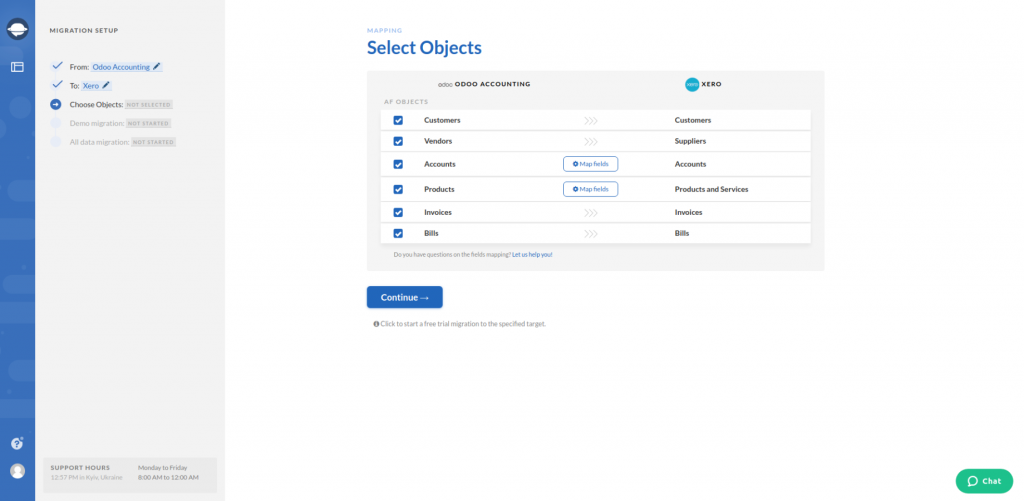
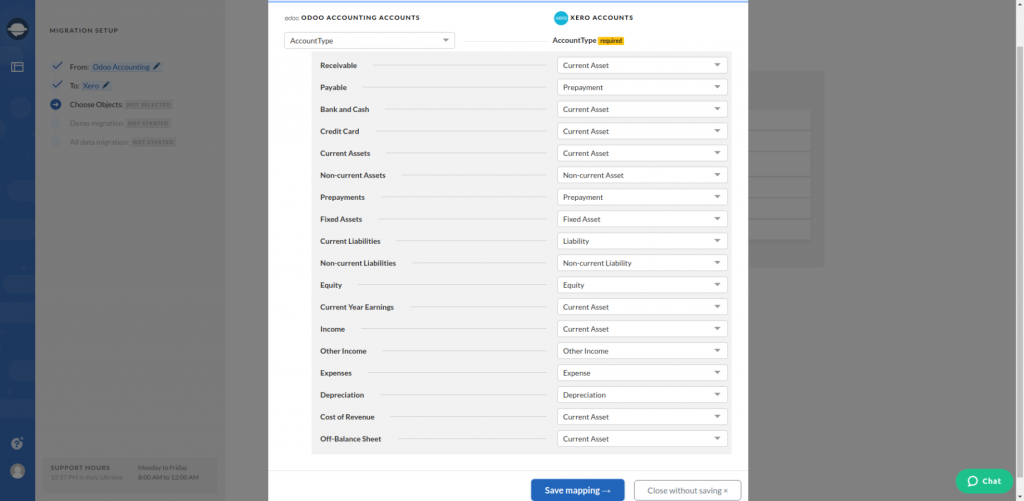
5. Map your account fields to import the records as you want. Then, match the account types attentively to find them on your target system later.
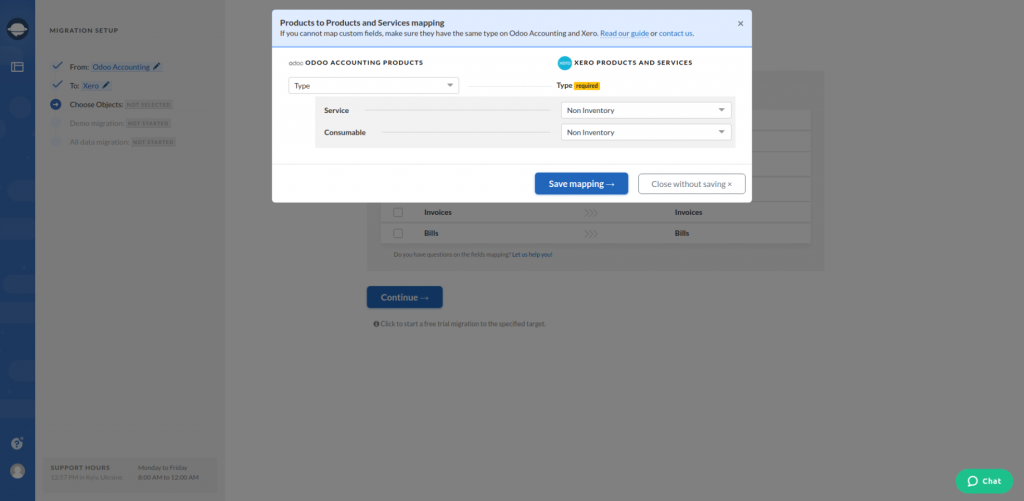
6. The next step is the products’ mapping.
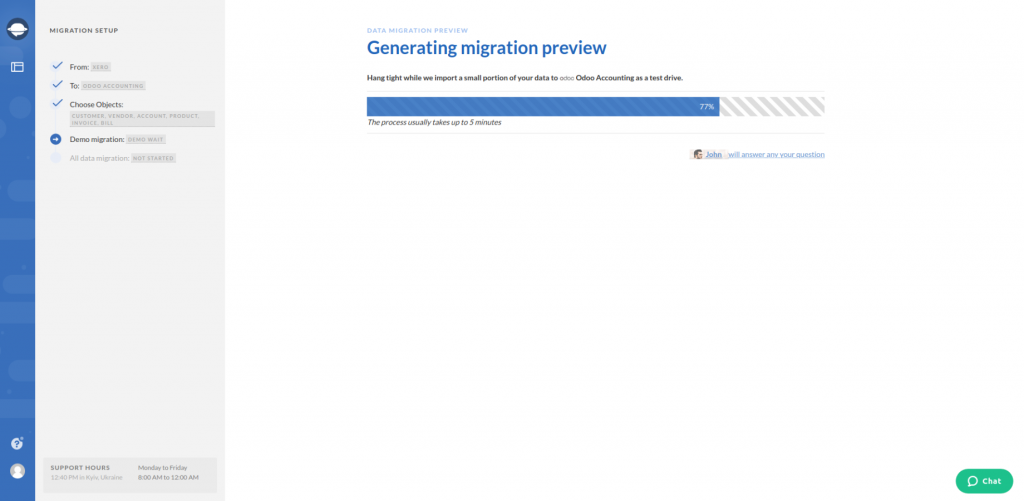
7. When everything is set up, launch Free Demo migration. So you will test how the tool works before buying the migration service.
8. Check the results of the Free Demo Migration by pressing Download report next to each record.
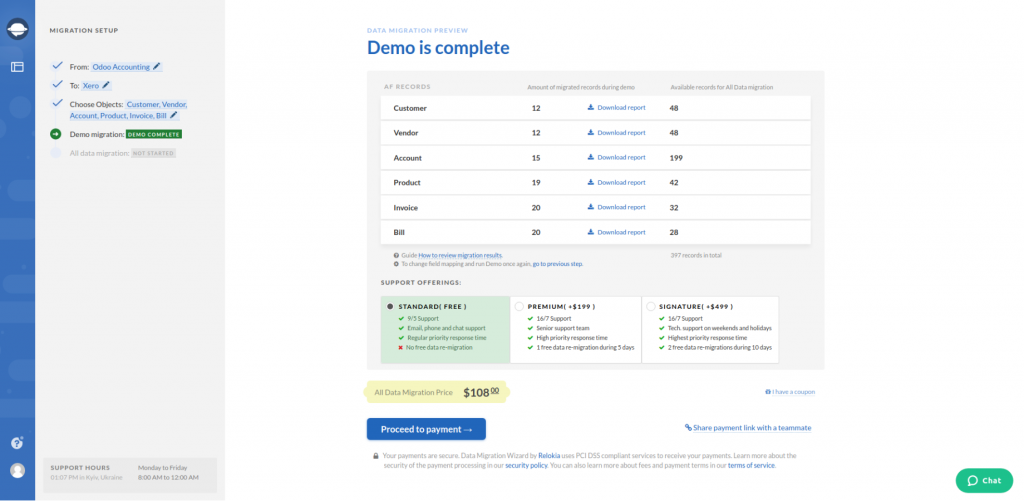
9. Results look great to you. Then start the Full Data Migration.
Note: If any questions appear before, during, or after the accounting system migration, feel free to contact our support representatives.
To Conclude
Before you proceed with your Odoo Accounting migration, spare time to check out the following:
- Make sure you have the same currency on both source and target accounting systems.
- Ensure that you have the access credentials to both platforms.
- Check if you have created an account on your desirable platform. You need a place where to move your data.
There’s no better way to take care of your taxes, invoices, and bills than to move them to your desirable accounting system. So let the Accounting System Migration Service help you with Odoo Accounting migration to save your time and resources.

