Need to export QuickBooks Online data, but don’t want to waste your resources? Do it automatedly with the Accounting System migration service. Just a few clicks and your accountants return to work without losing any essential data or wasting their time on the manual data entry.
Continue reading to prepare for your data migration effectively.
Why Choose the Automated Tool for the Data Migration?
You have two basic options to move your data: manual or automated data migration. Manual data migration can’t guarantee that all records, statements, accounts, bills, and other accounting information move fully to a new accounting system. Automated data entry, on the other hand, preserves all your data relations. Wherefore, you need to consider using the Accounting System Migration Services.
Here is the list of other reasons to do so:
- You can import big volumes of data to another platform.
- Support packages offer you additional assistance from our data migration experts.
- Free Demo migration to test the tool by converting a small portion of data.
What Can You Export From QuickBooks Online?
With Accounting System Migration Services, you can migrate such data from QuickBooks Online:
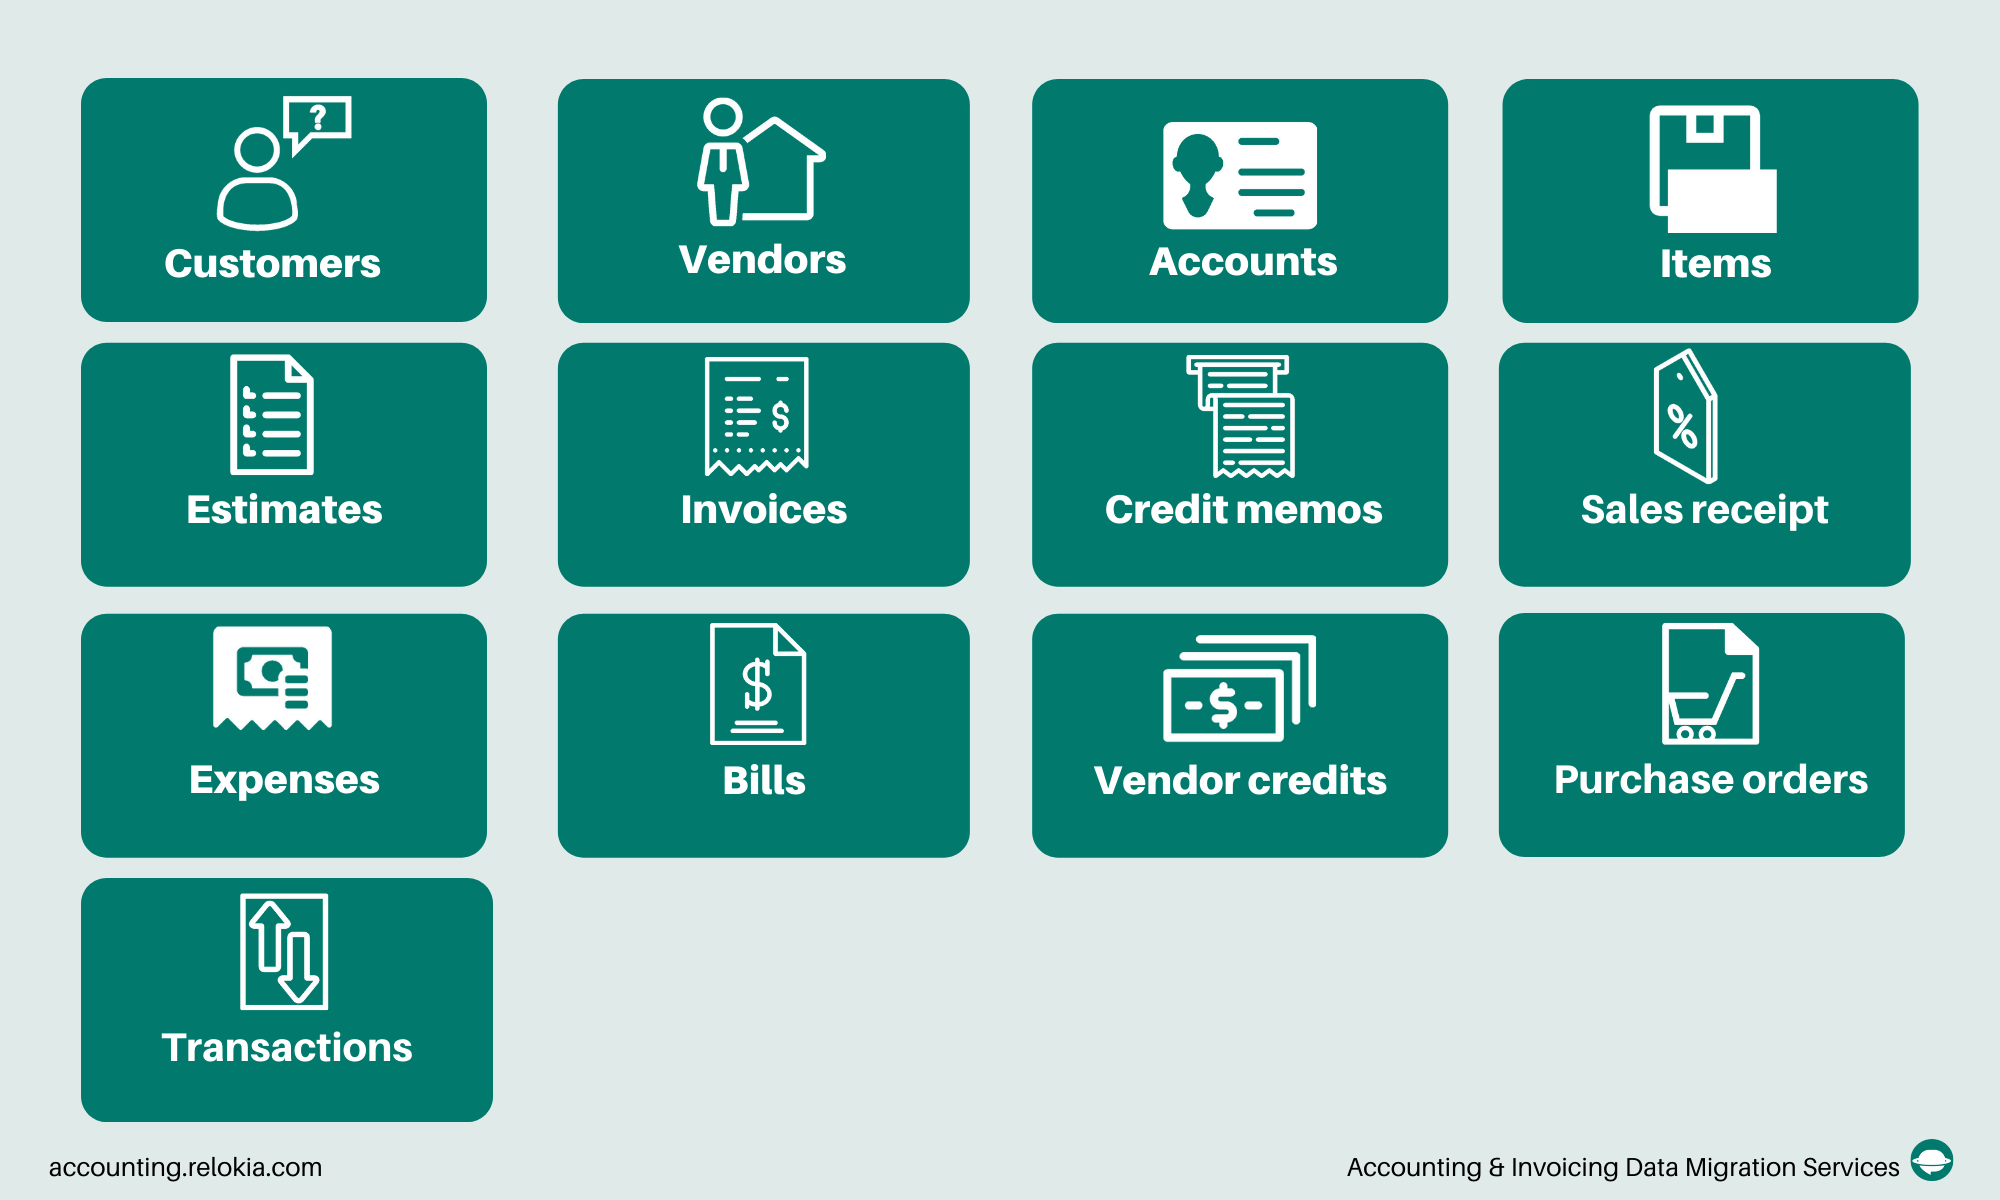
Note: If you have any particular requirements for your data migration, reach out to our data migration experts. They will do everything in their power to help you.
How to Export QuickBooks Online Data Automatedly?
To export data from QuickBooks Online, you need to undergo the steps given below.
1. Sign in to your Migration Wizard account and set up data migration by clicking Start Migration.
2. Select QuickBooks Online as your source platform. Then log into your account to enable the data export. Our tool doesn’t require or store your access credentials.
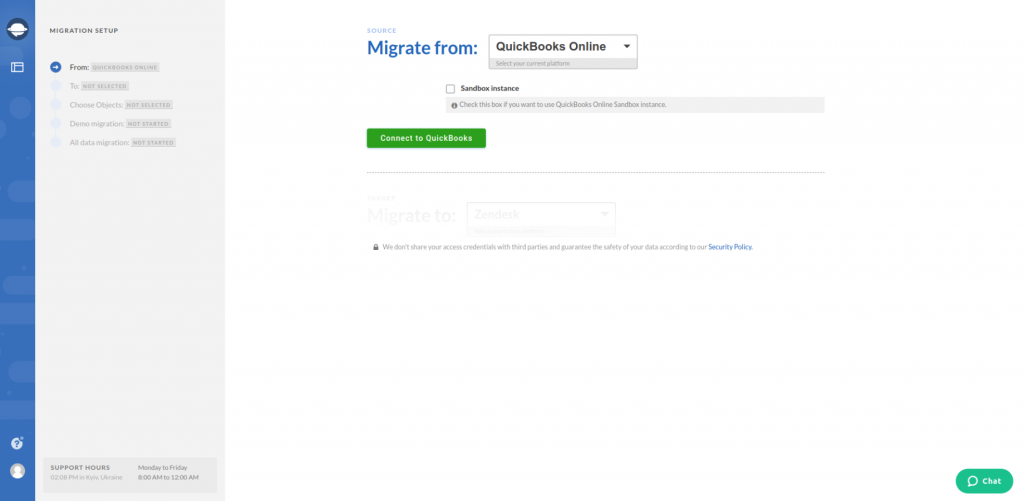
3. Choose your target accounting software and fill in the necessary fields.
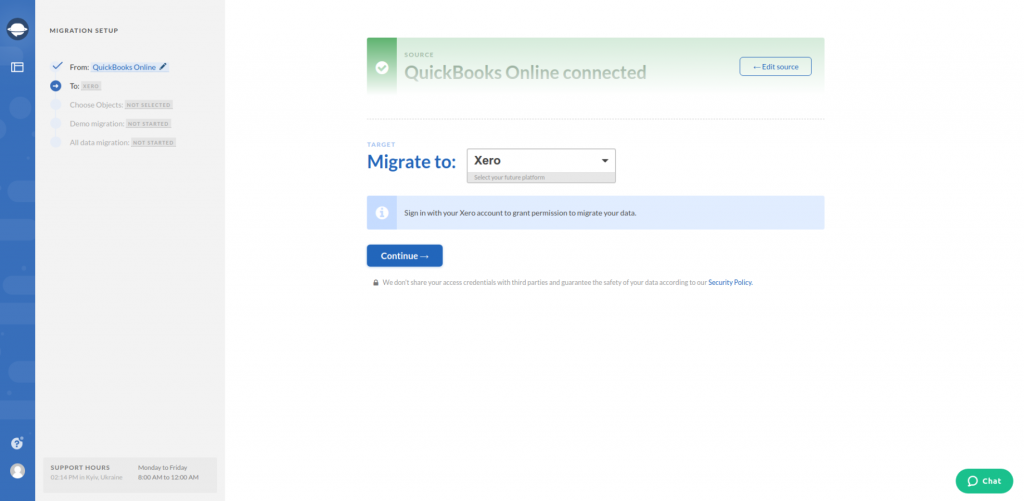
Note: Some accounting systems require you to configure the connection.
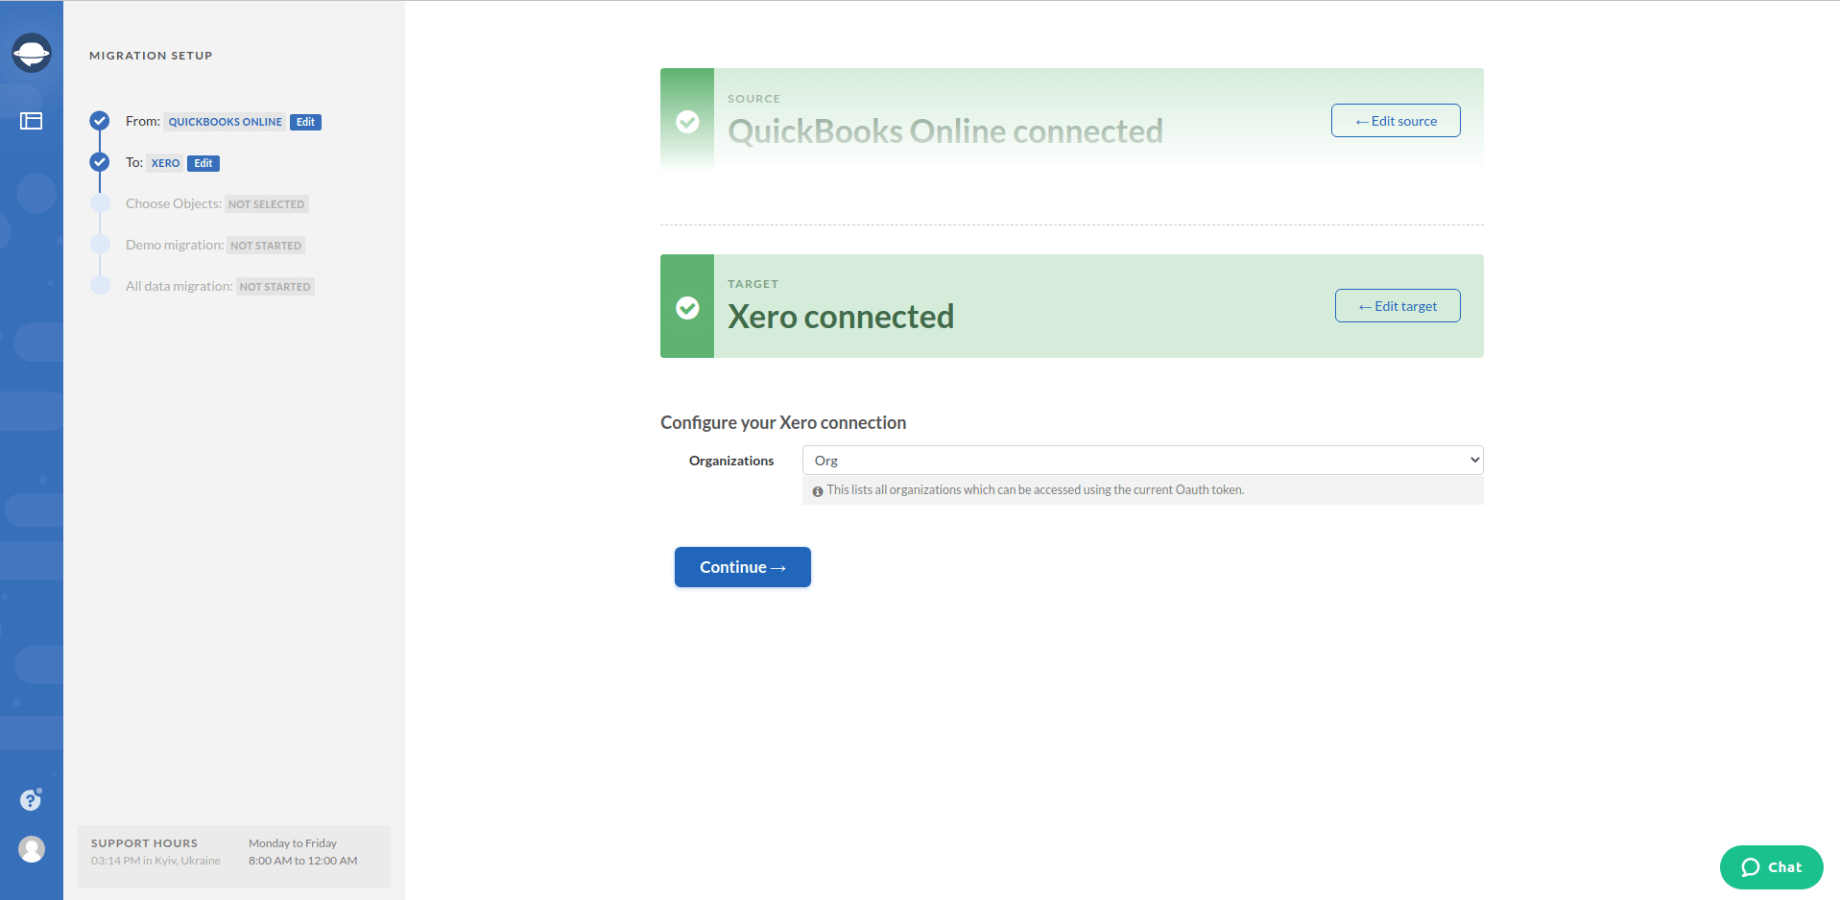
4. Pick the records you want to migrate from QuickBooks Online. As you are proceeding with this step, look at the table. Some records may have different names on the new accounting software.
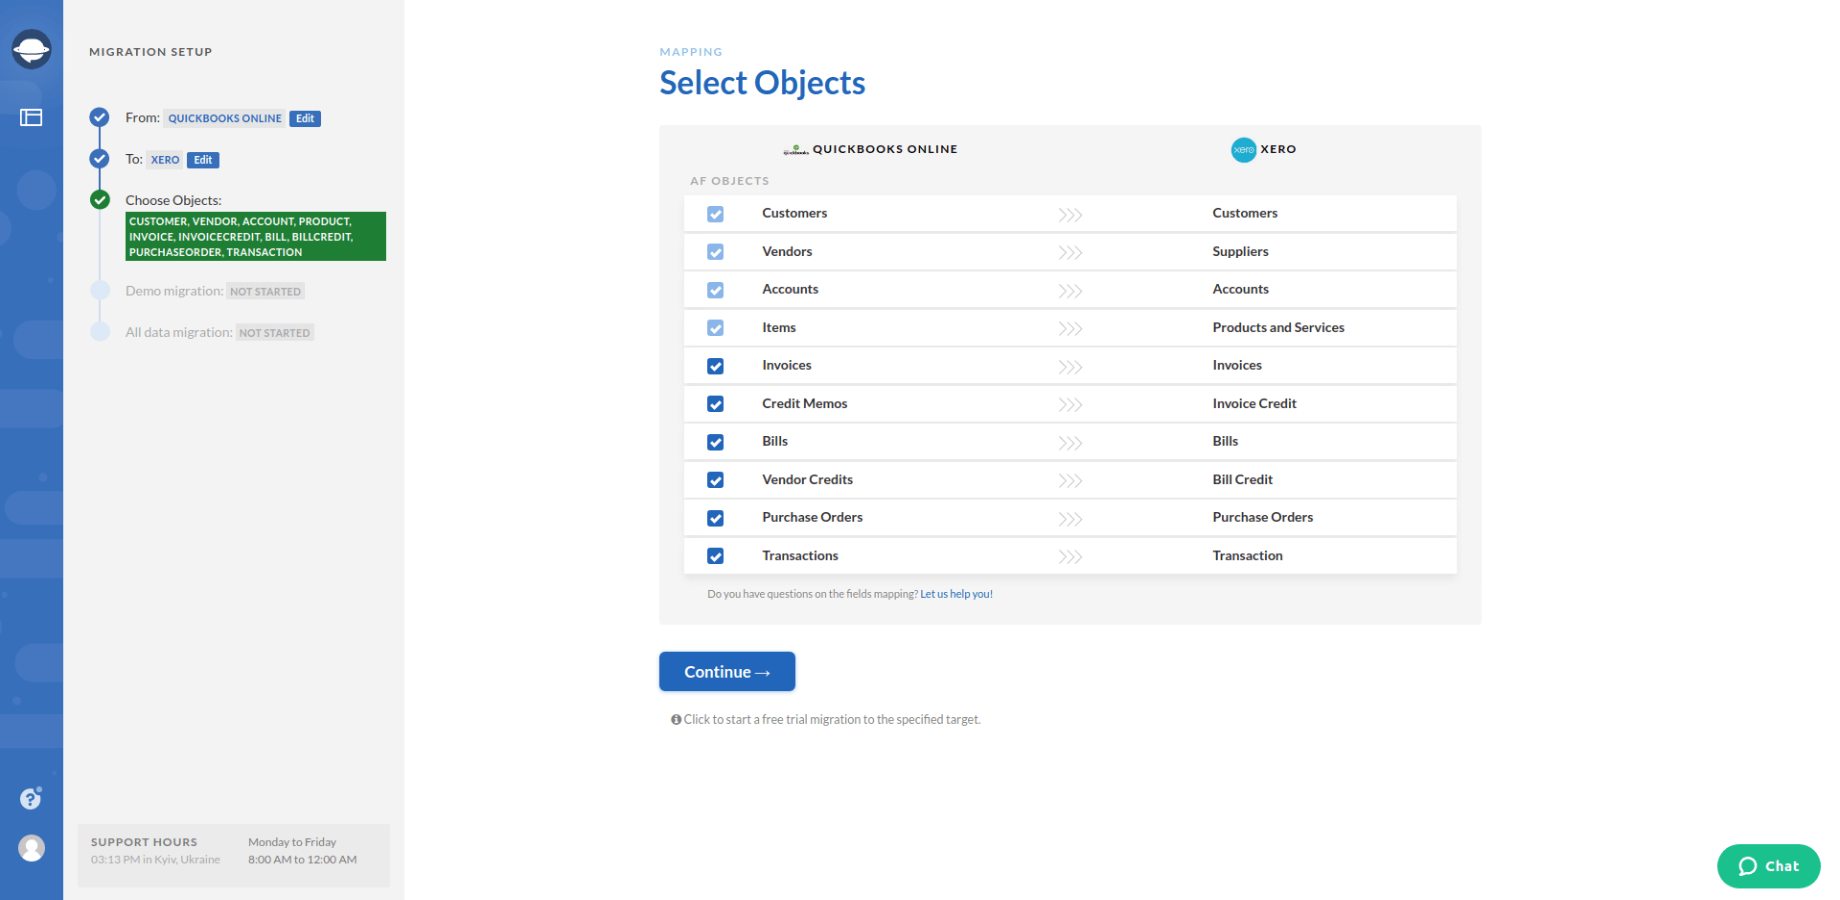
6. When everything is ready, click Continue to run a Free Demo Migration.
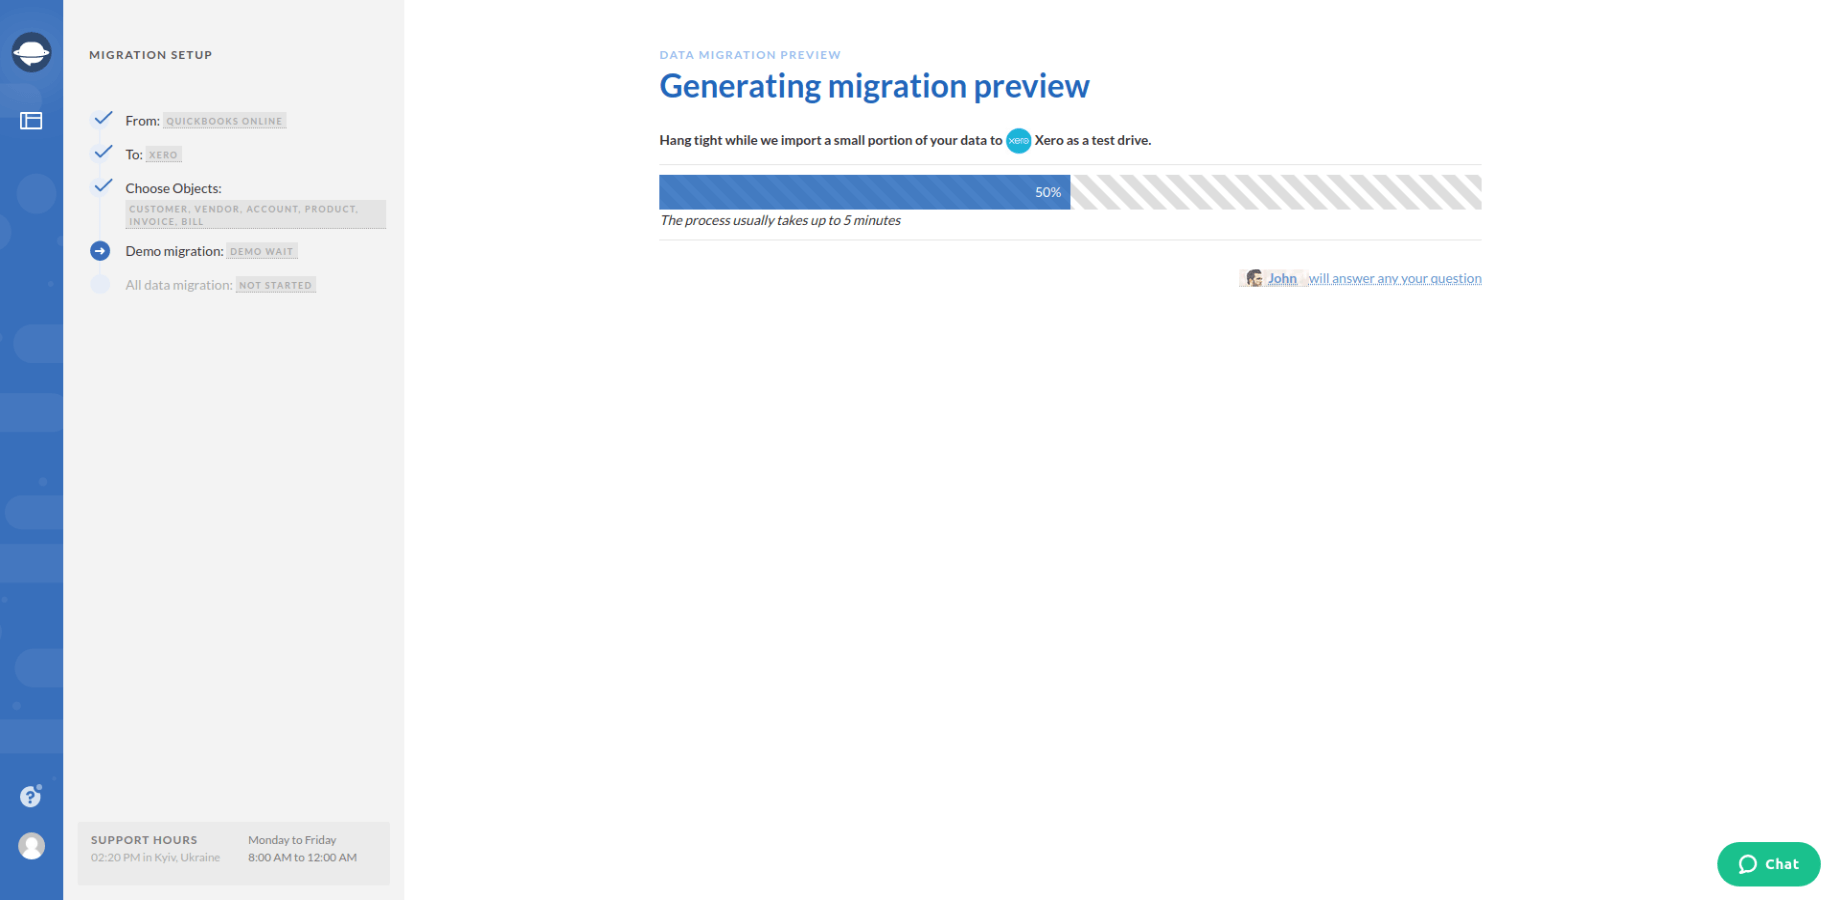
7. Check the results of your Demo. This step is optional but it shows how your data looks like after exporting.
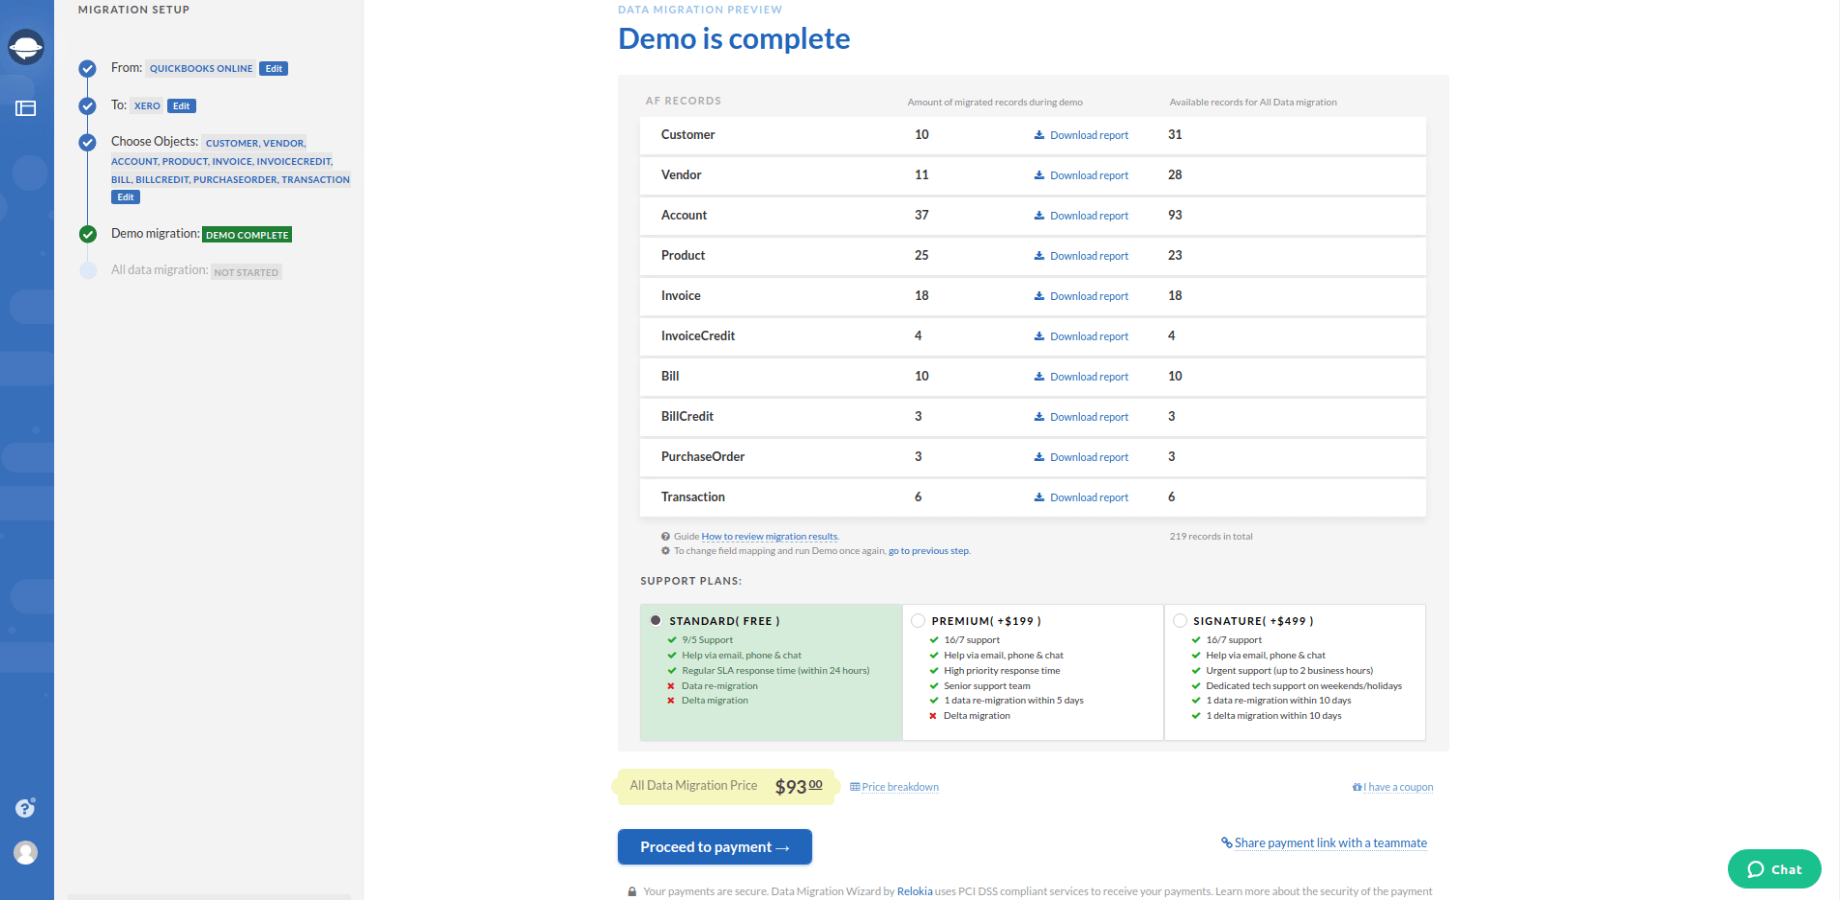
8. Launch the Full Data Migration. You can also schedule your migration to suit your business processes.
Note: If you know some specific details about your data migration, contact our customer support team.
Summing Up
With all the information you’ve learned, the data migration project doesn’t intimidate you. However, before setting your QuickBooks data conversion, double-check the following:
- Check that you have access credentials to your QuickBooks Online and target platforms.
- Ensure you have the same currency on both accounting solutions.
Moving a huge amount of data manually may be a tough and time-consuming process. Let the Accounting System Migration Service help you with this task and move your data automatedly.
Export QuickBooks Online data the easy way
See that an automated solution is better than old migration practices


