FreshBooks import always sounds like a great idea when you are looking for an accounting system to anticipate your needs. With this platform, you don’t need to keep your finances sorted and organized manually. Just a few clicks and you open a detailed client record.
Continue reading to get a quick overview of the data migration process and its peculiarities.
Why Do You Need to Import to FreshBooks?
FreshBooks is an intuitive accounting system that offers its users a well-rounded and double-entry accounting experience. Because of its usability and outstanding properties, this platform is a great choice for small businesses and freelancers.
FreshBooks supports estimates, time tracking, projects, and most importantly, invoices. You can easily identify your revenue items to calculate profit and losses accurately. Besides, you reduce bookkeeping mistakes in your taxes thanks to automatic checks and balances.
It’s easy to keep track of your expenses and transactions because of such FreshBooks as:
- Balance sheet
- Account Payable
- General Ledger
- Accountant Access
- Trial Balance
- Cost of goods sold
- Chart of accounts
- Journal Entries
Most importantly, you can use integration between FreshBooks and Bench to add bookkeepers so as they can manage your finances more effectively. You also can use the FreshBooks Customer Support Team services in case you need a consultation.
What Data You Can Import to FreshBooks?
Our app supports the automated migration of the following data:
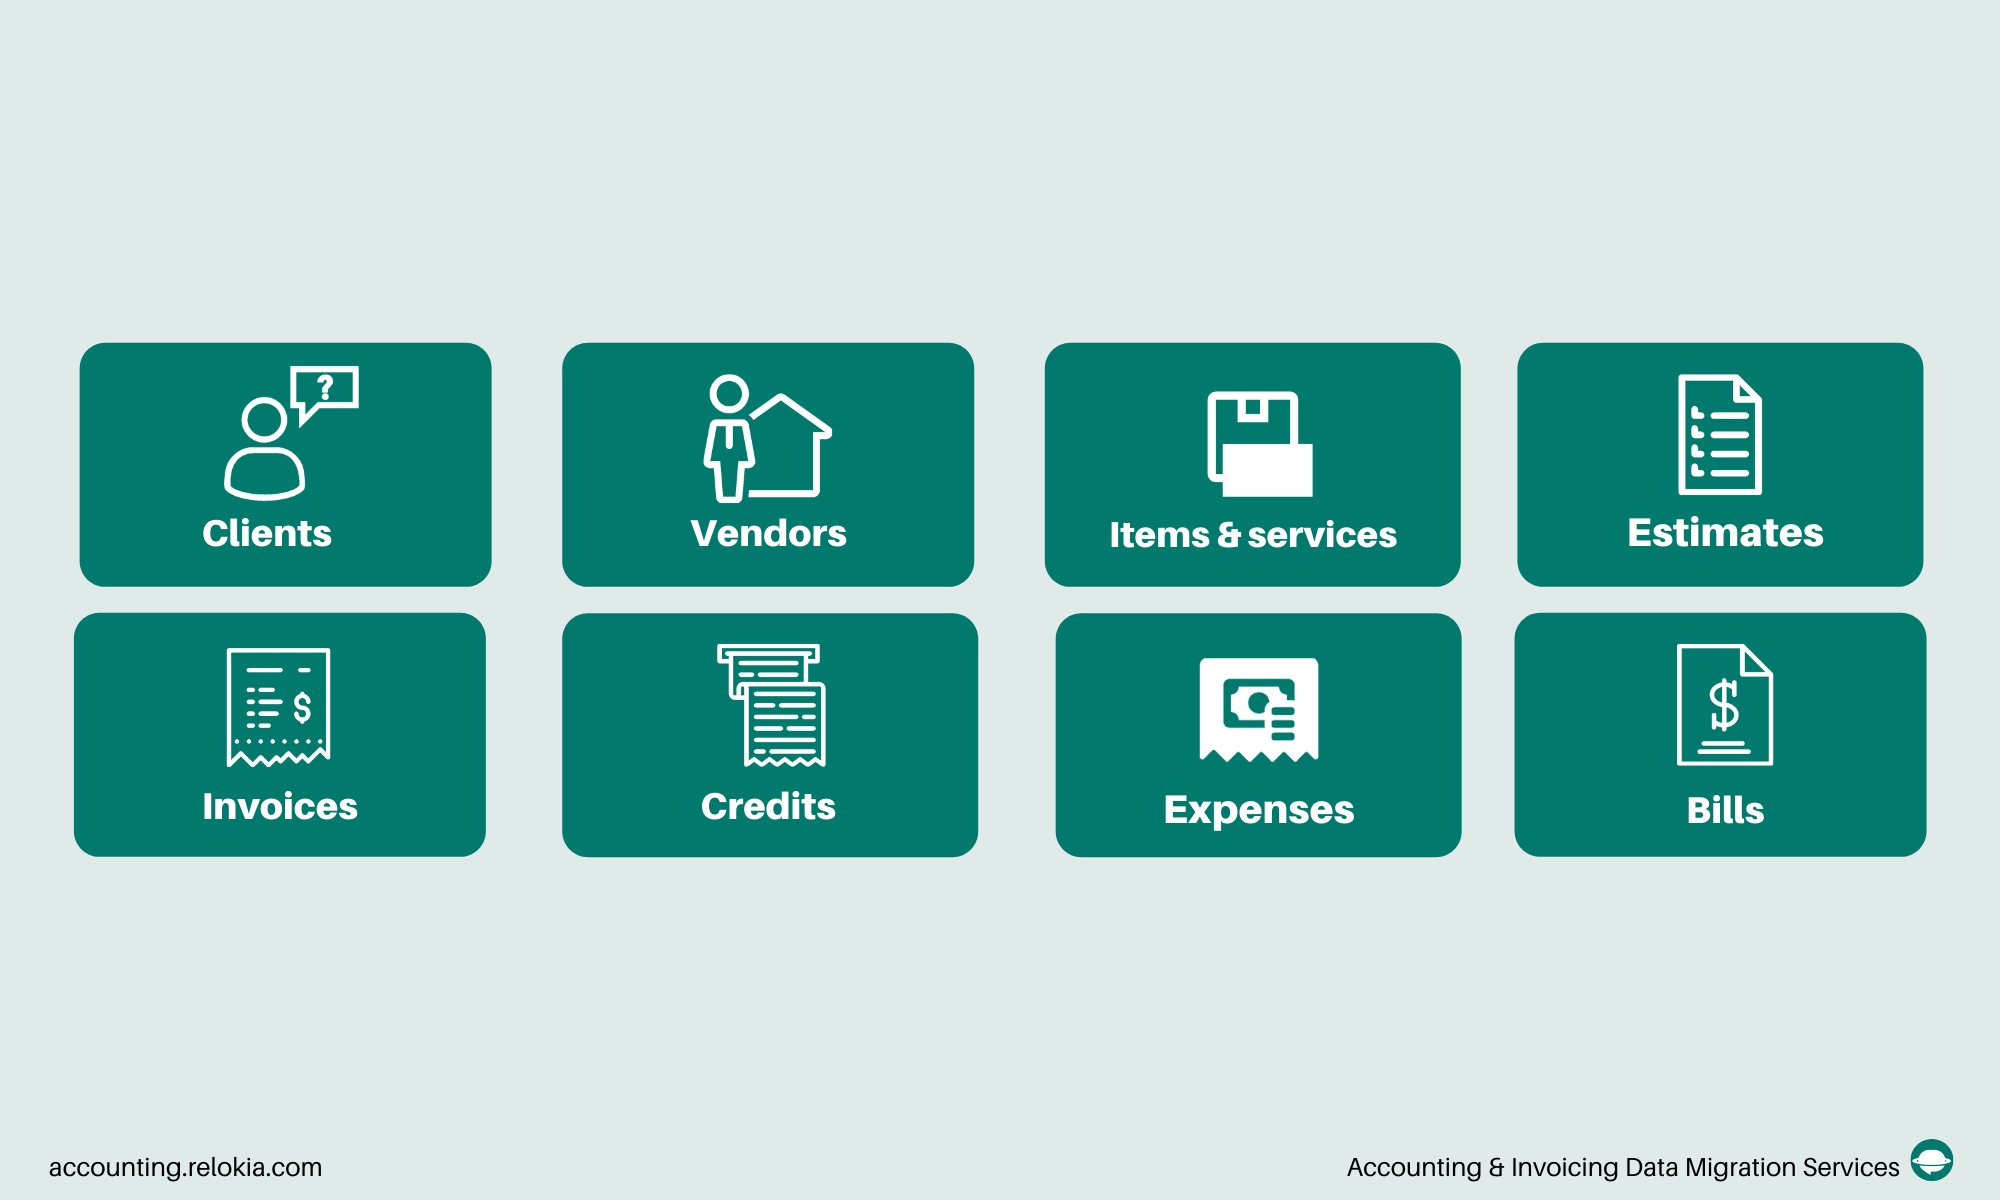
Before setting up the import to FreshBooks check the following aspects:
Note: In case you would like to migrate peculiar data that isn’t available for the automated data transfer, approach our support team to discuss your customized migration.
How to Perform Your Automated FreshBooks Import
1. Open Migration Wizard and log into your account. In case you haven’t used our service before, you can simply sign in with your email or any other social media.
2. Choose your source accounting system and fill in the required information.
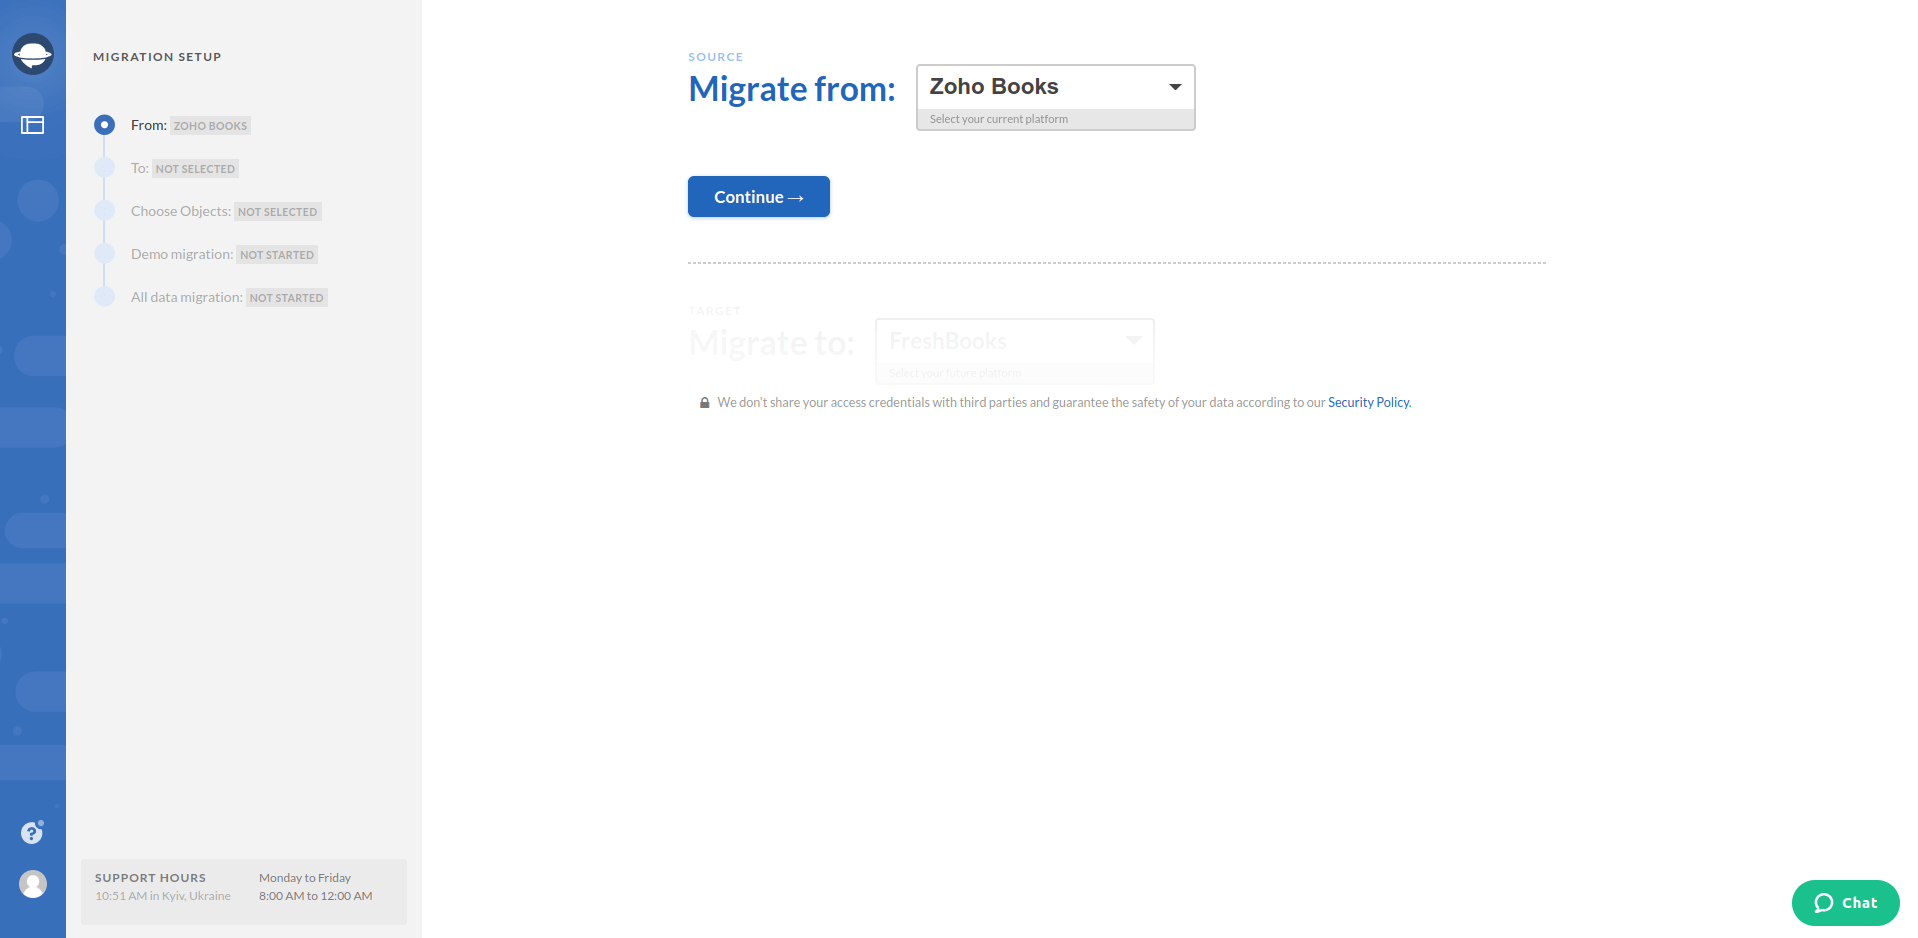
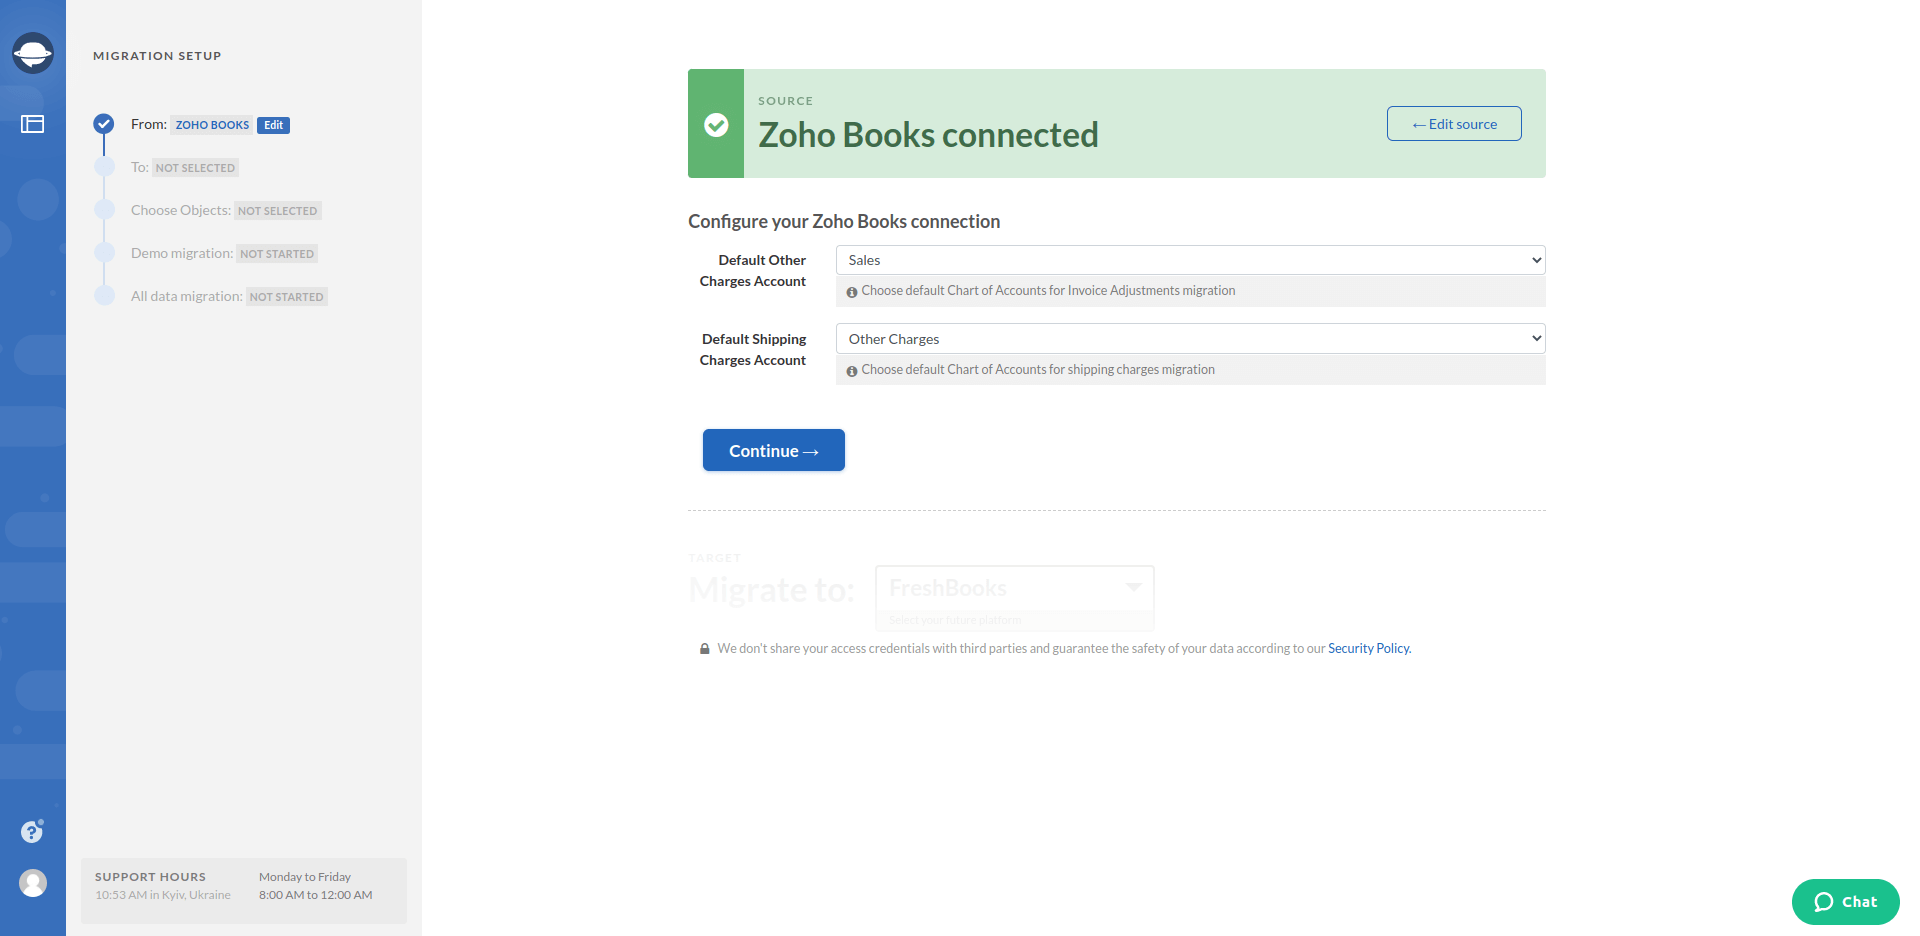
3. Select FreshBooks as your target platform and sign in with your account. In such a way, you grant our app permission to migrate your data.
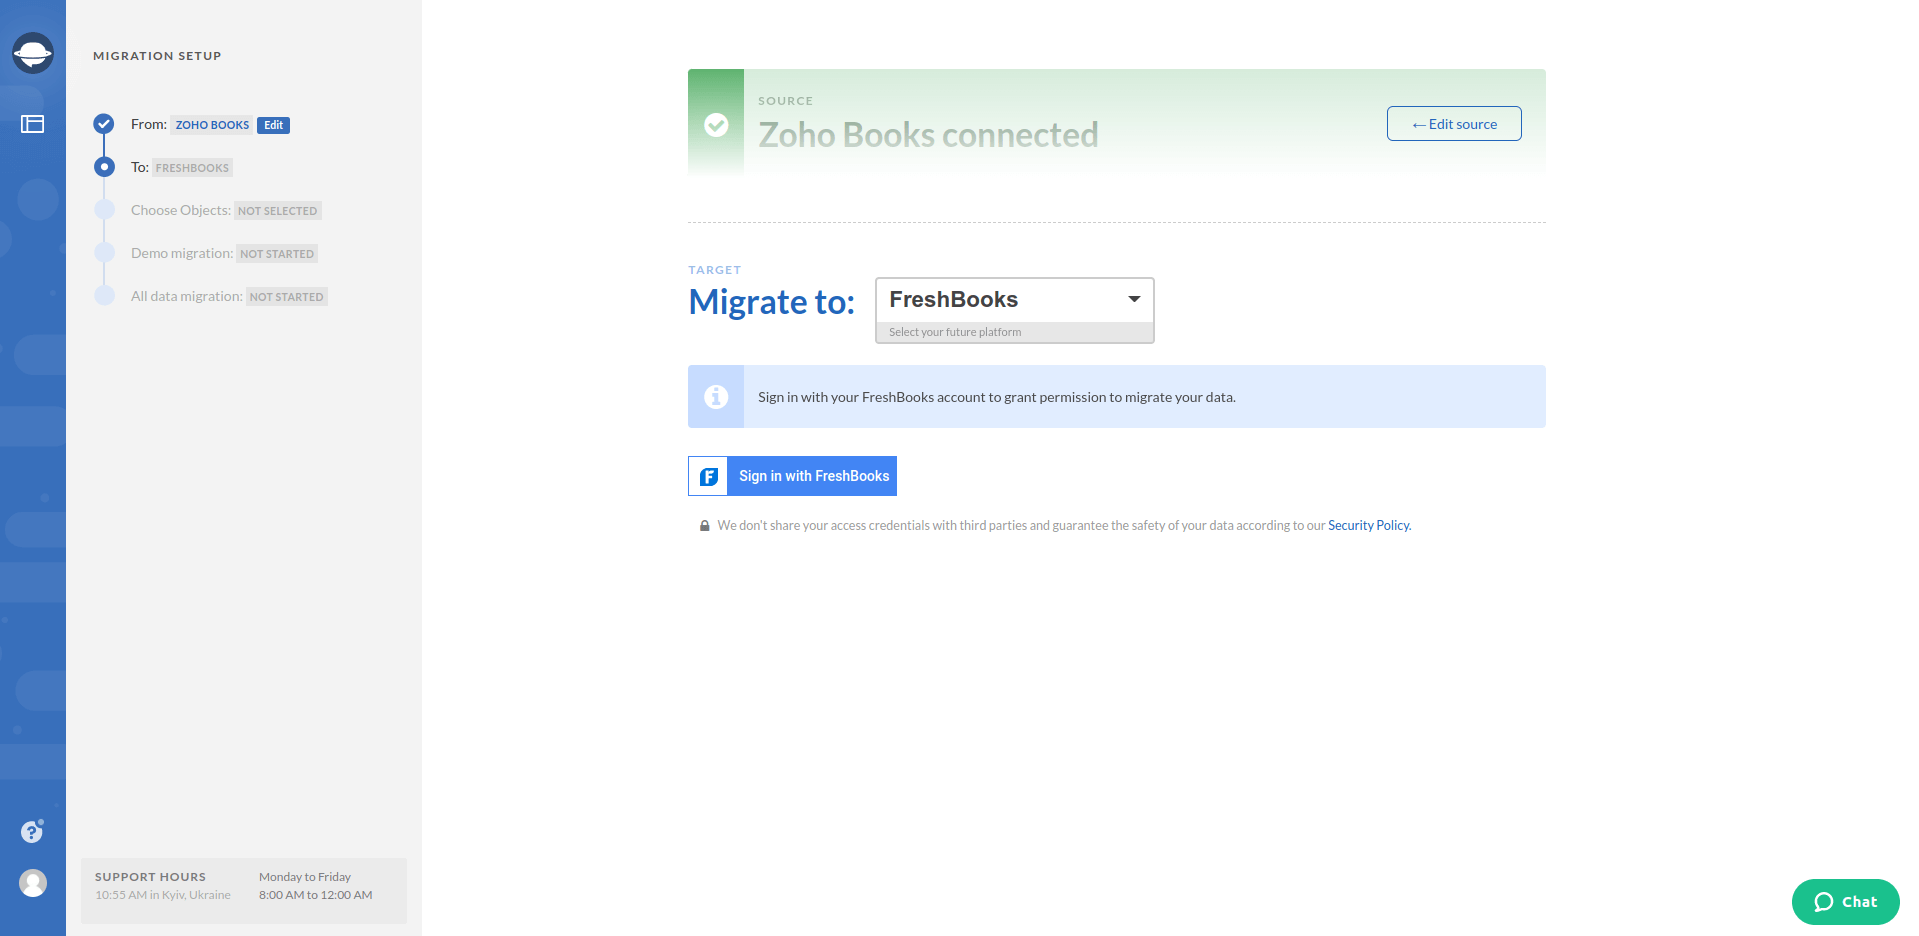
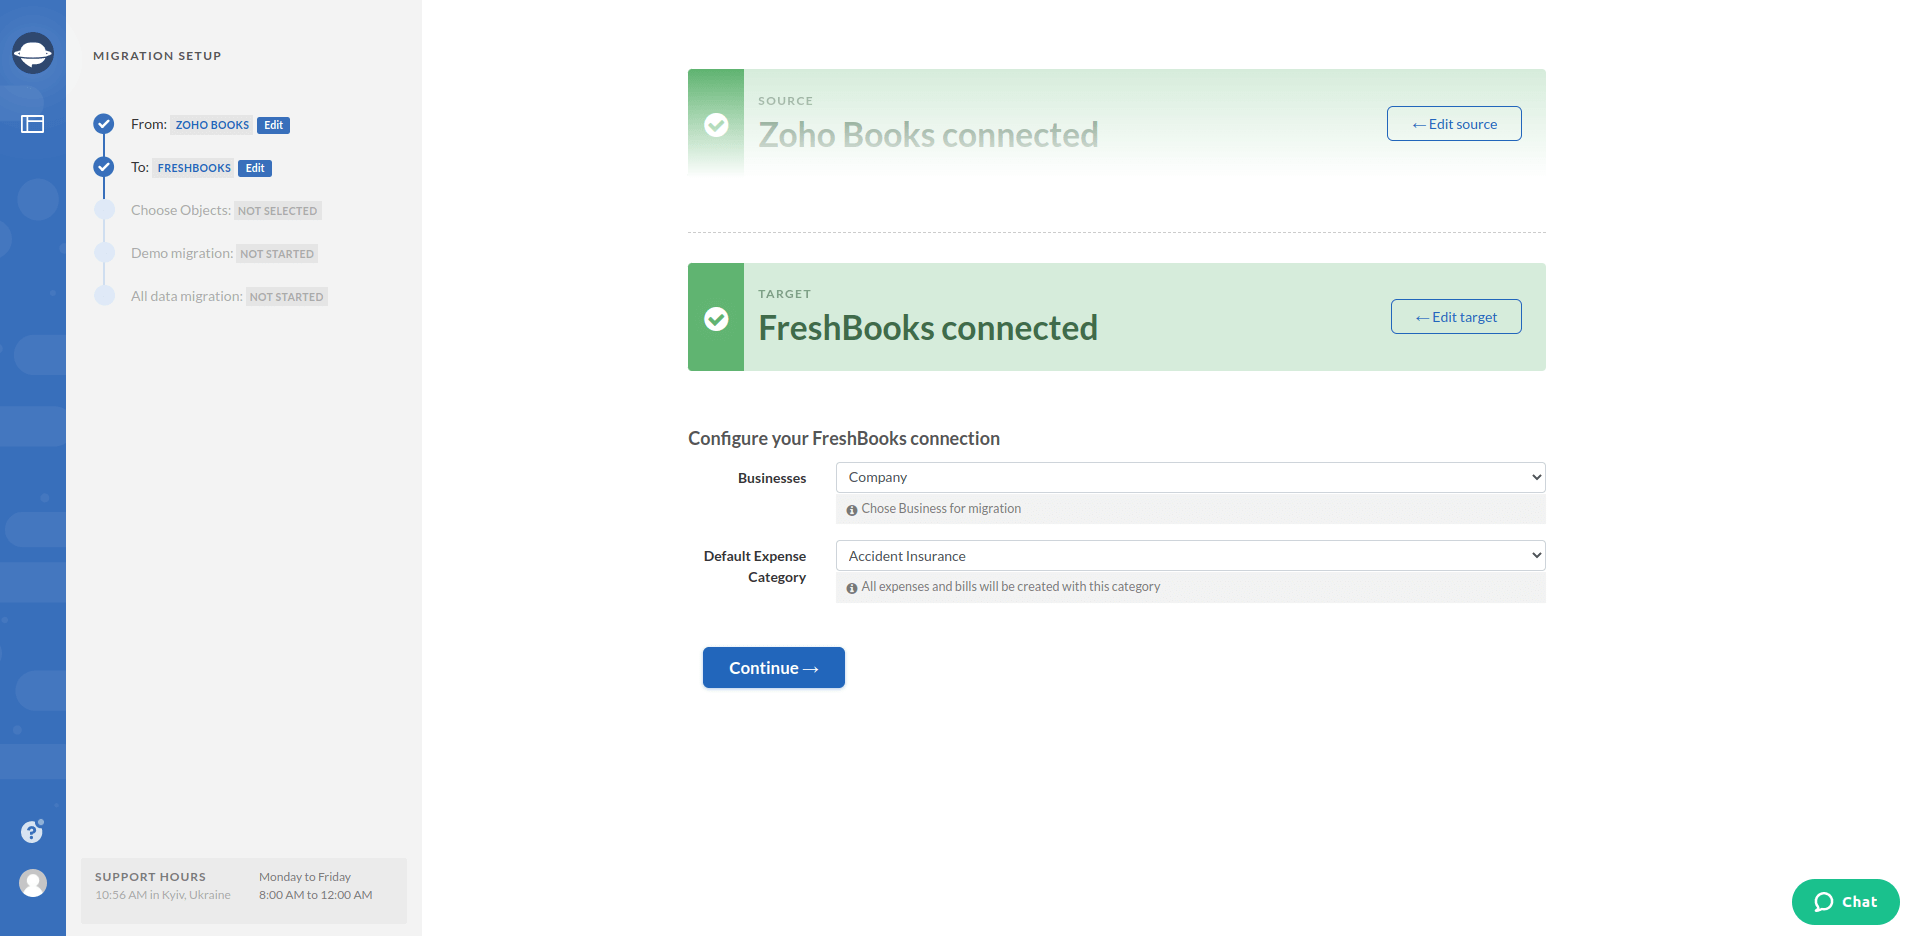
4. Configure your FreshBooks connection by choosing the required Default Expense Category.
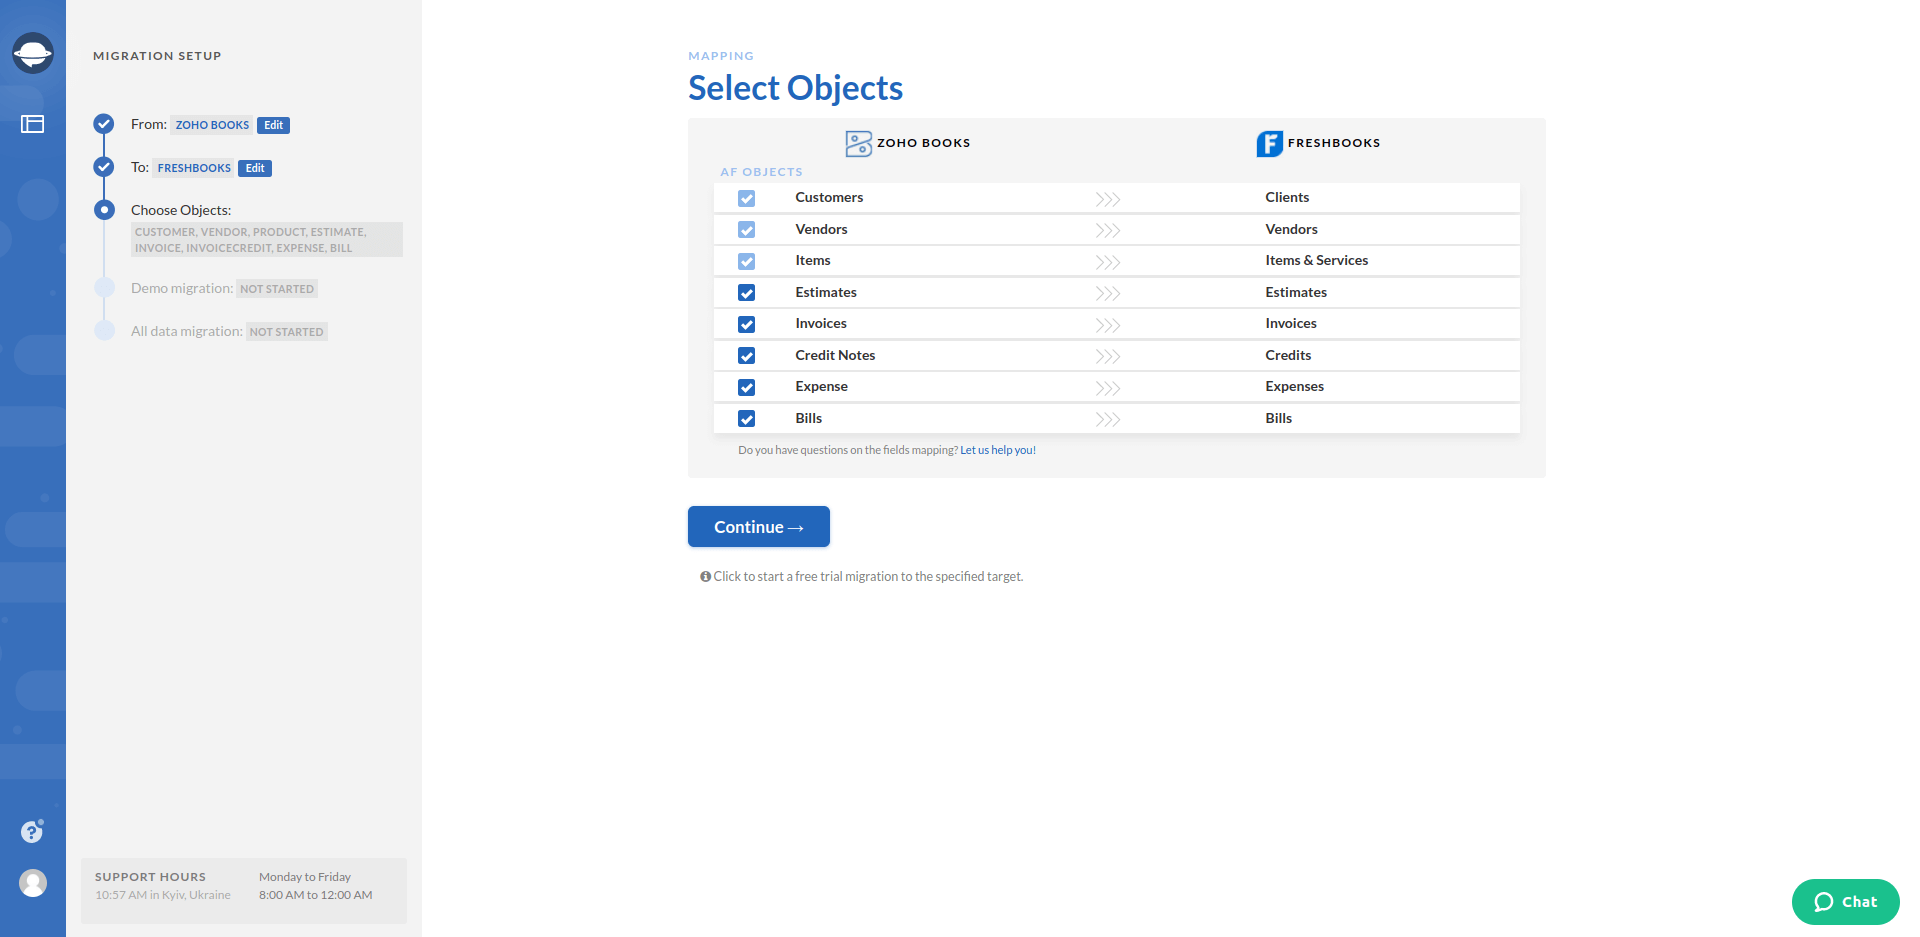
5. Pick the records you want to transfer. While you do that, look carefully at the table. It shows if the names of your records will be different in FreshBooks.
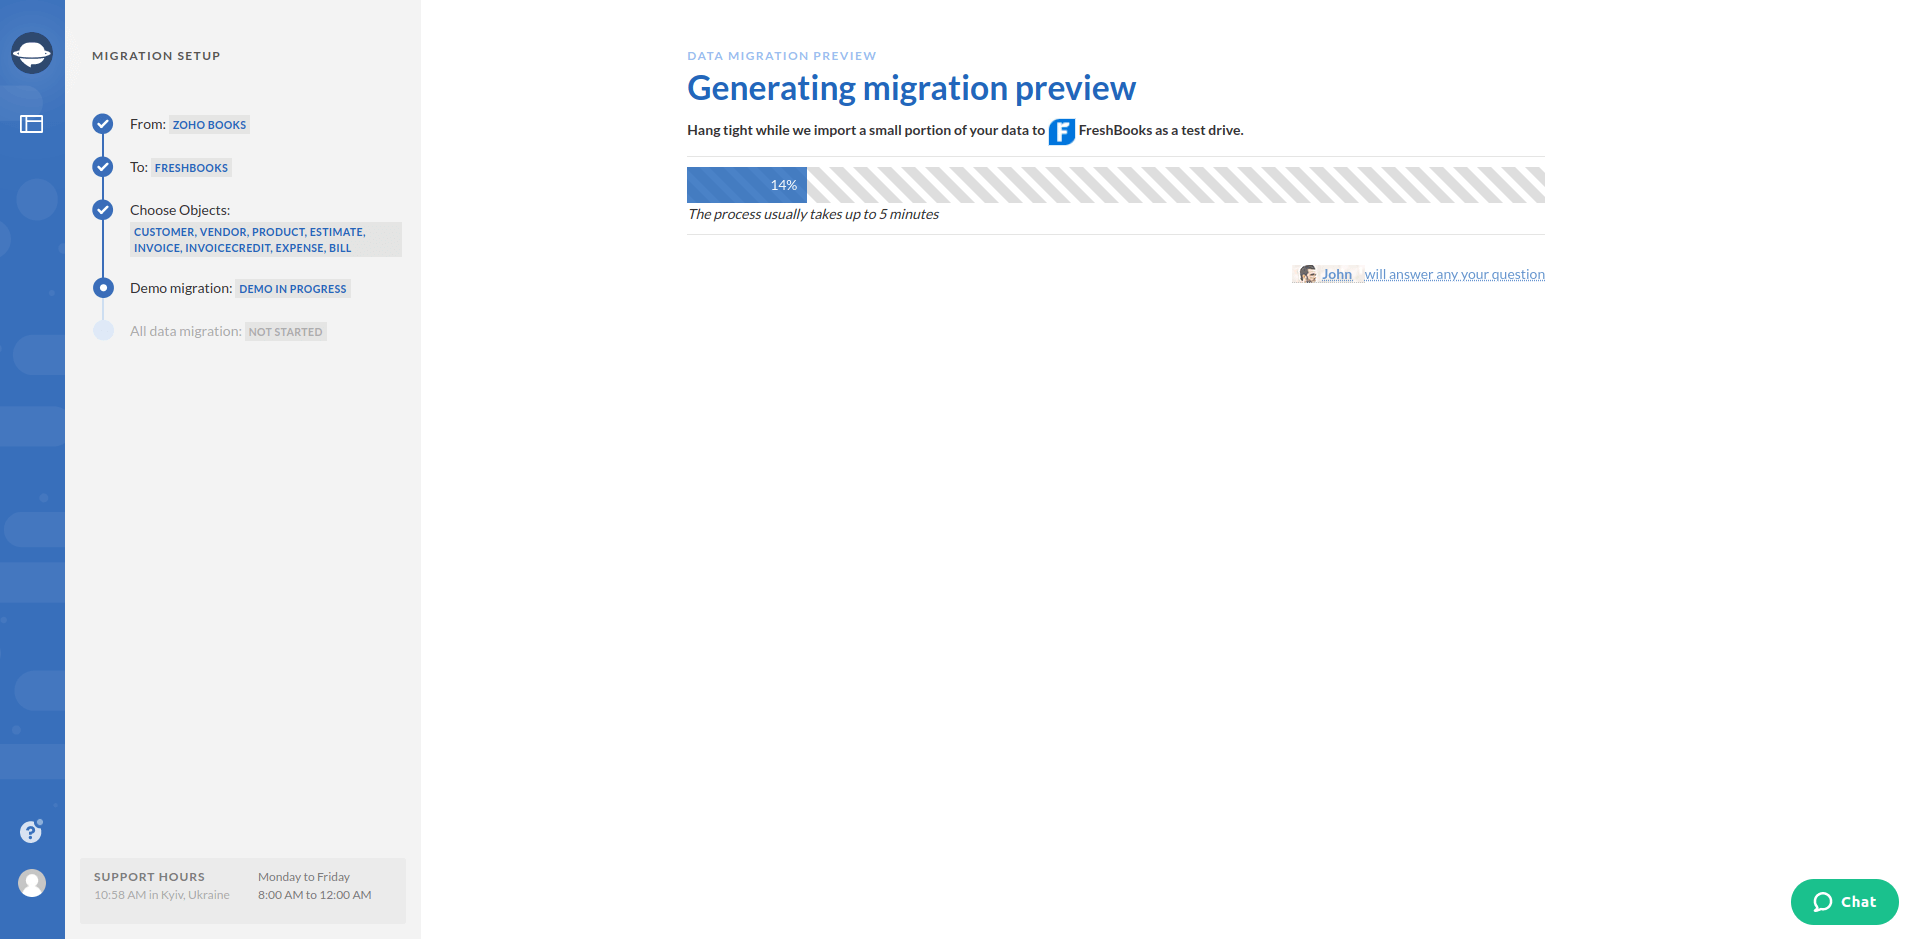
6. As soon as you have set up everything, run your Free Demo Migration to see how our app works and how your data migrates.
7. View the Free Demo results.
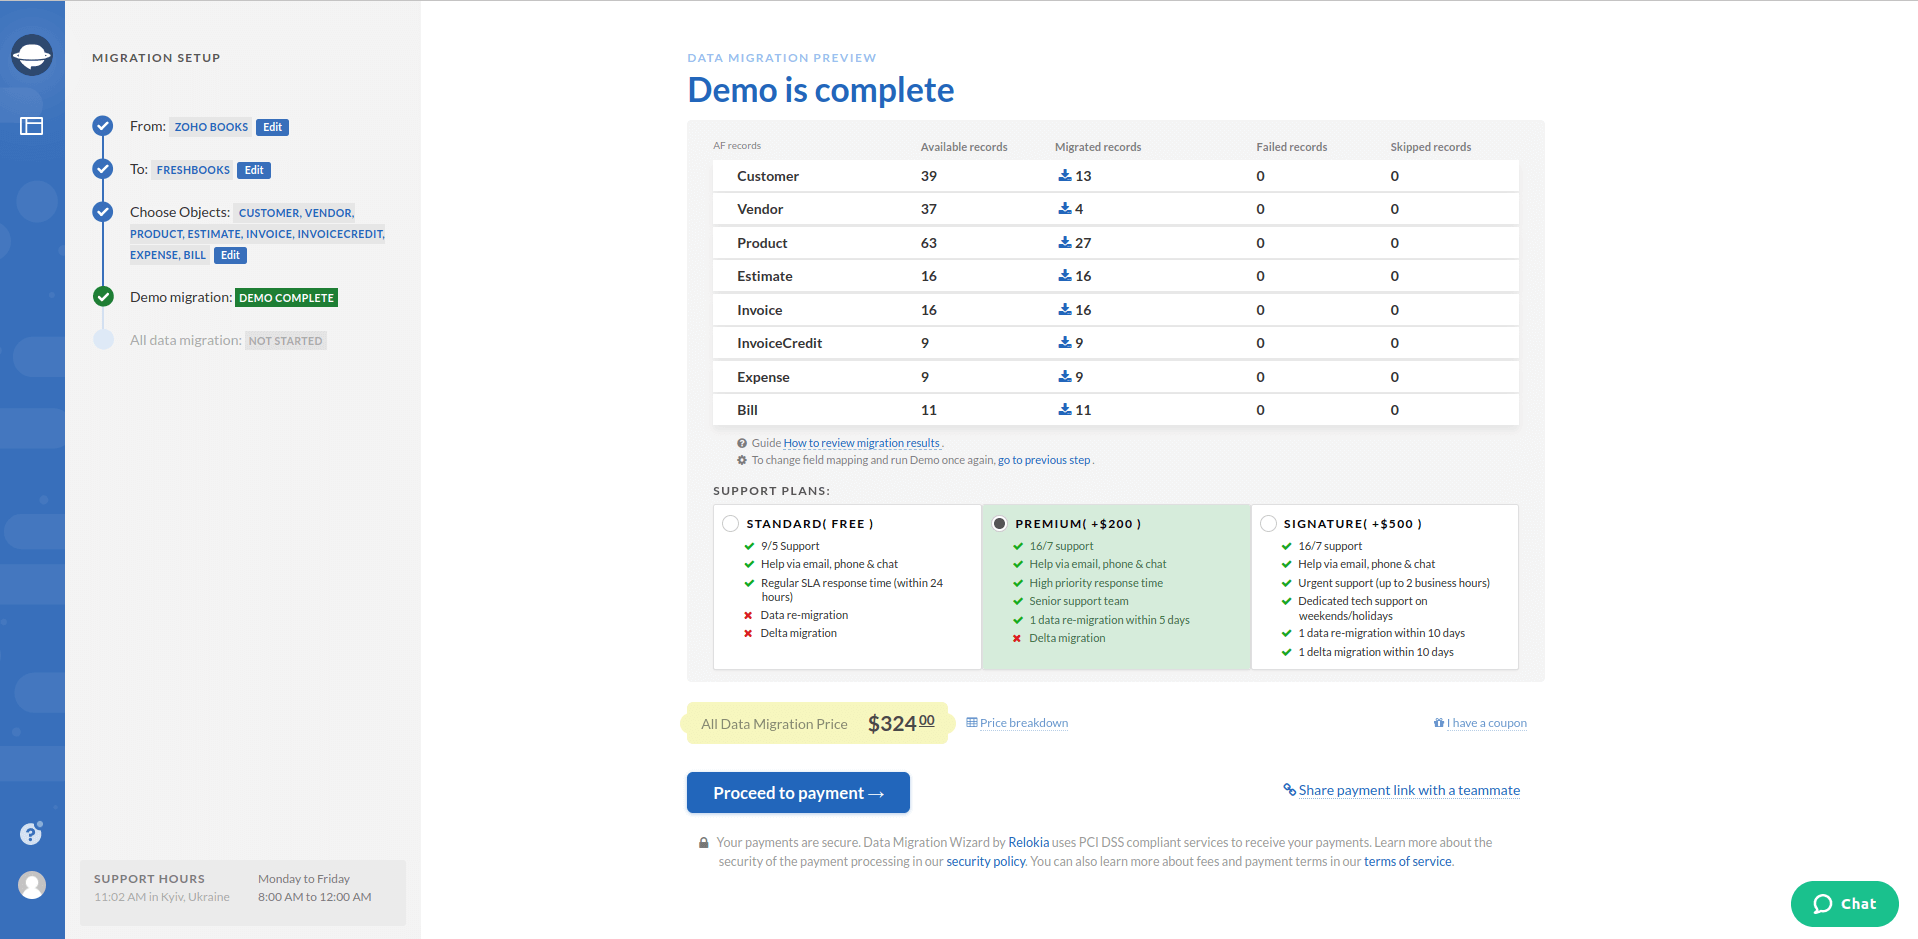
8. Run the Full Data Migration to import your data to FreshBooks.
Note: Drop a line to our data migration expectations in case any questions appear before, during, or after the FreshBooks import.
To Sum up
Before importing to FreshBooks, make sure that you have access credentials to both source and target accounting systems.
That’s pretty much everything you need to know to run a seamless import to FreshBooks. Your current accounting solution shouldn’t hold you back in a desire to grow and prosper. Choose the proper time for the data migration, acknowledge your team, and the Accounting System Migration Service will do the rest.


