Xero is vastly popular accounting software. The company has been powering businesses since 2016 and by this day remains one of the top-notch accounting platforms. If you plan on implementing Xero into your business, then we have some great news. Now you can effortlessly run your Xero import using our Migration Wizard. Keep reading to learn more.
How Automated Xero Import Works
No files or coding. All you need is an active Xero account and your current accounting software. The process looks like this.
Step 1. Sign up.
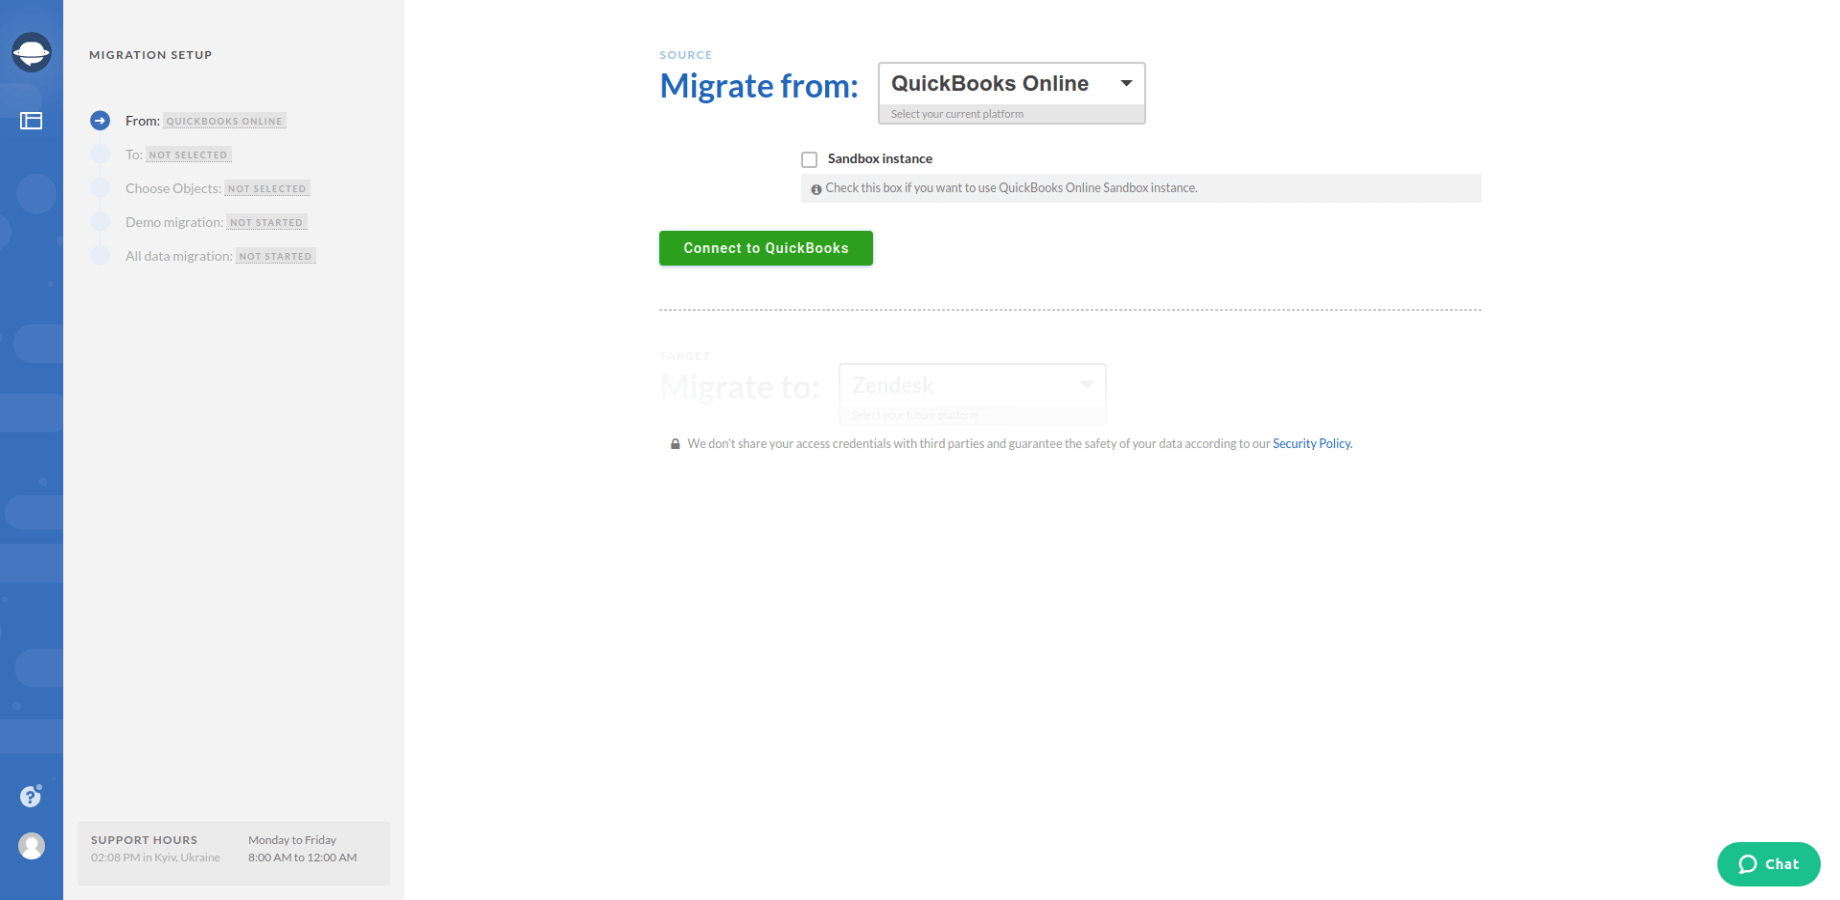
Step 2. When you have your account, press “Start migration” and you will see this page. Click the platform selector and pick your source accounting system. The Wizard will then ask for credentials. Fill out the form and connect the source system.
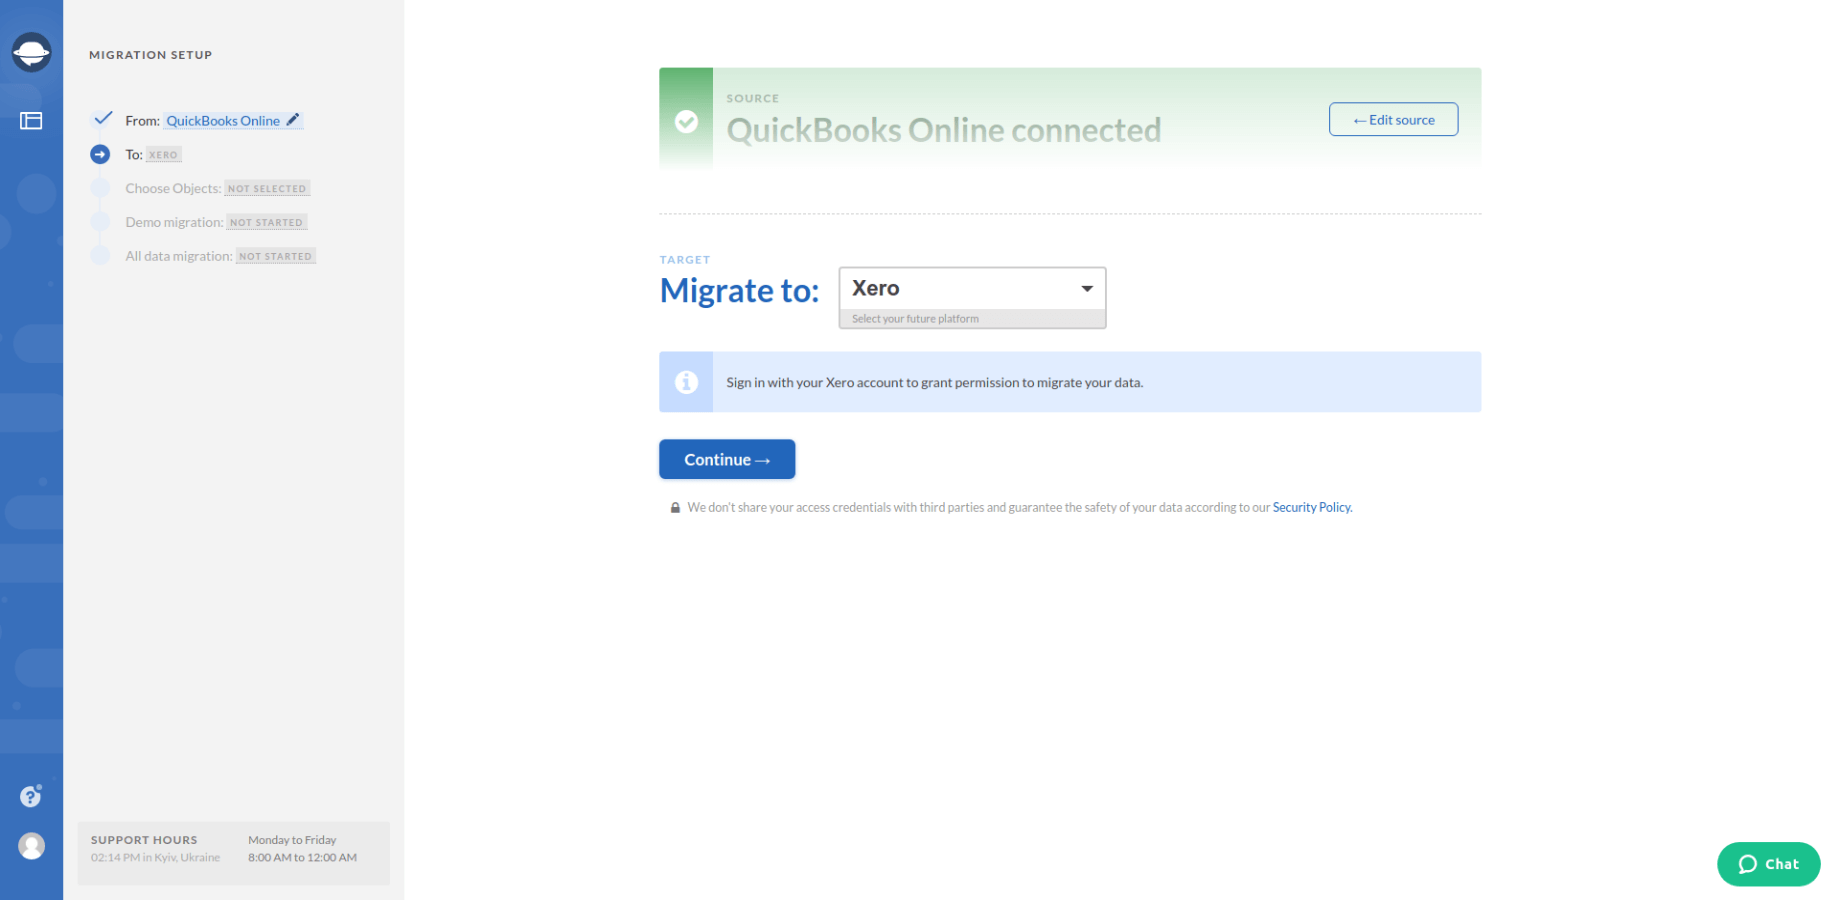
Step 3. Now, you need to connect your Xero account. Like before, click the platform selector and find Xero on the list. Fill out the form and connect Xero. You may use a trial account if you haven’t purchased a license yet.
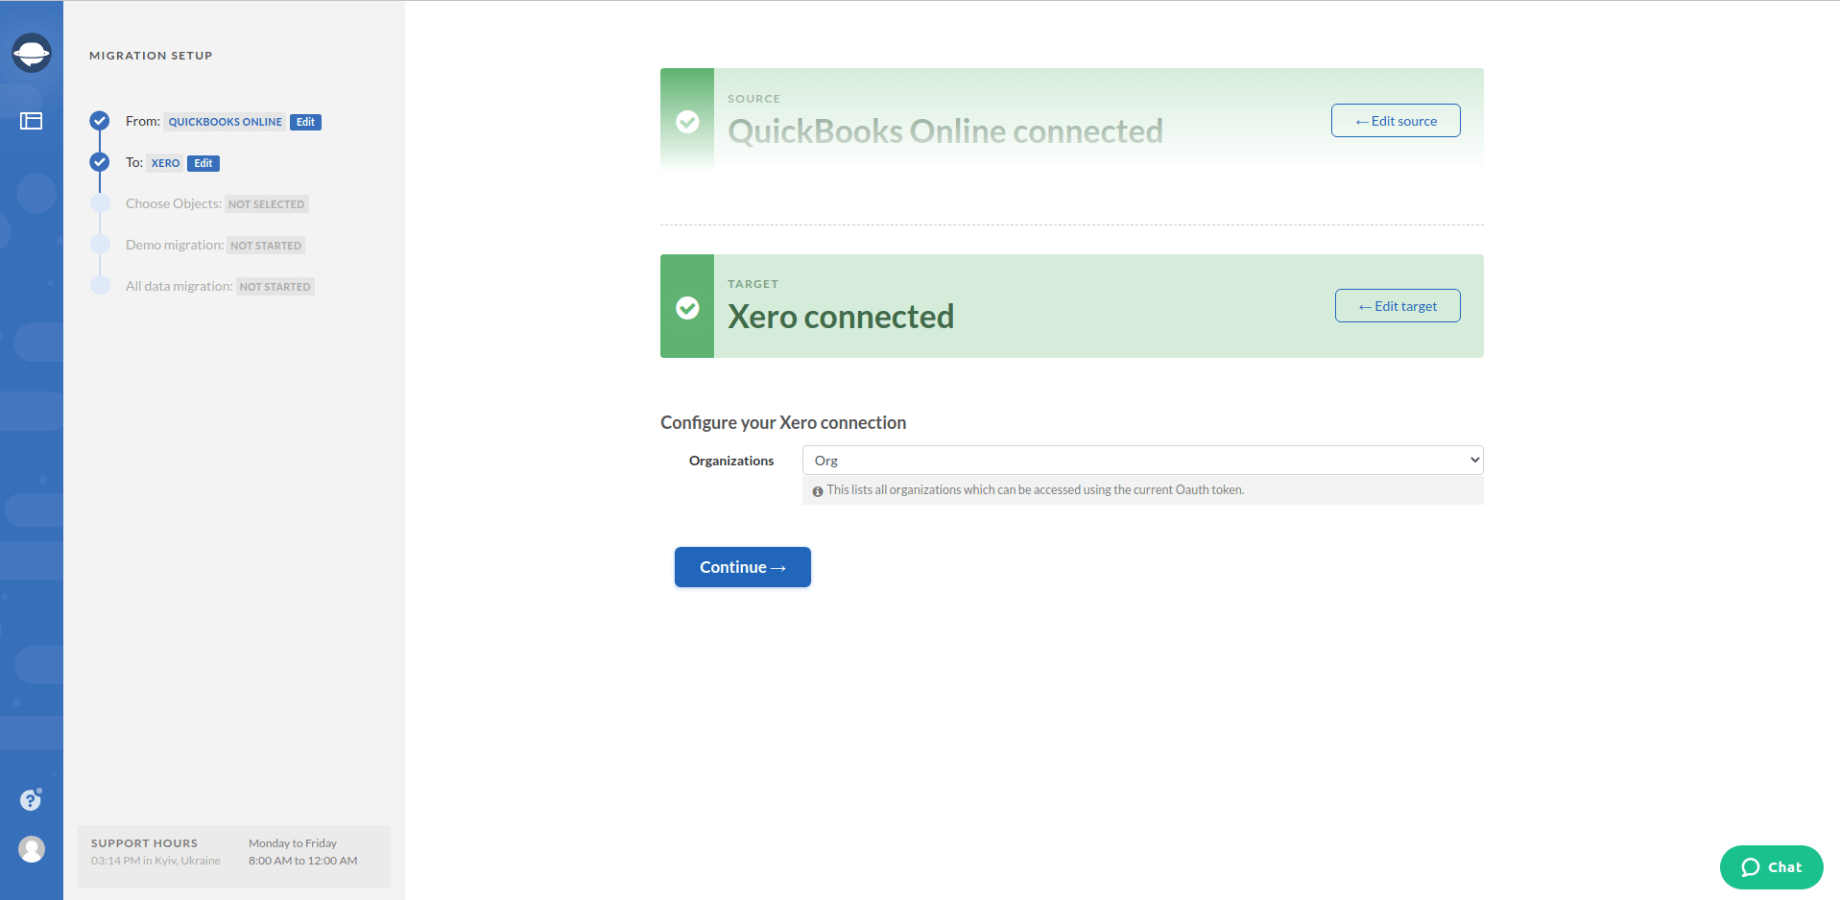
Step 4. Ok, now that the systems are connected, you need to select the data you want to import. Our Wizard can import all data or particular sets of records. That’s up to you.
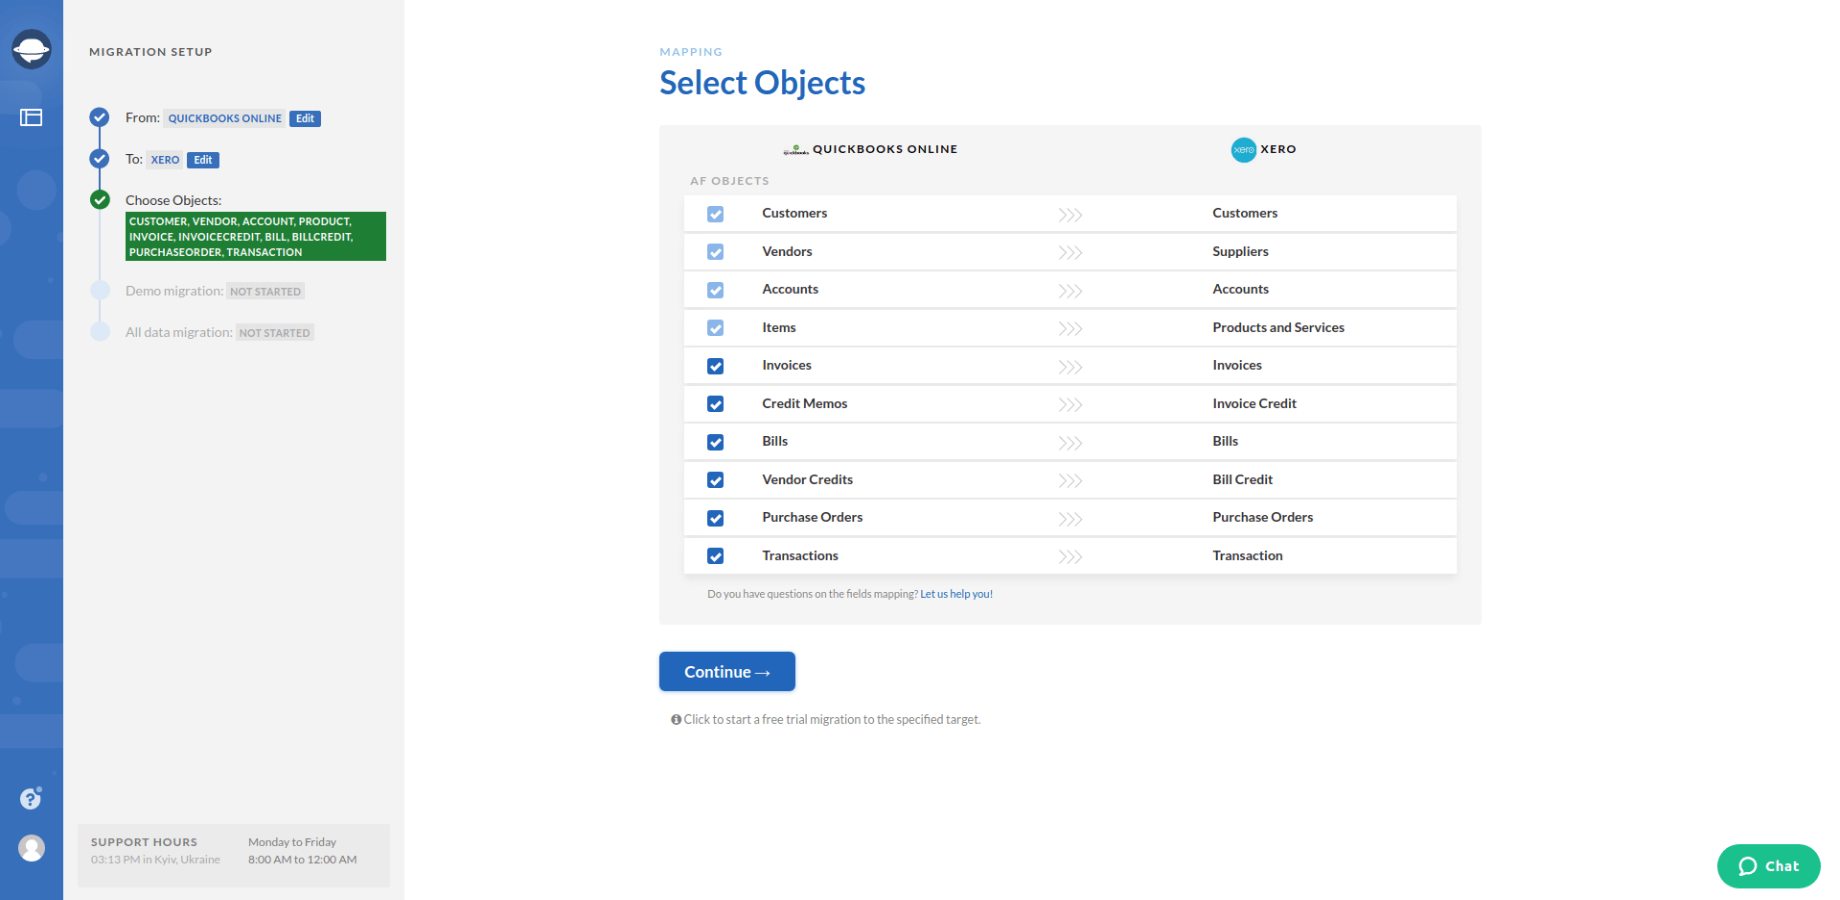
So, if you want to import a specific set of data, here are your options:
- Accounts;
- Suppliers;
- Customers;
- Products and Services along with Accounts, Customers, and Vendors;
- Invoices along with Products and Services, Accounts, and Customers;
- Bills along with Products and Services, Accounts, and Suppliers.
Select the data you want to import.
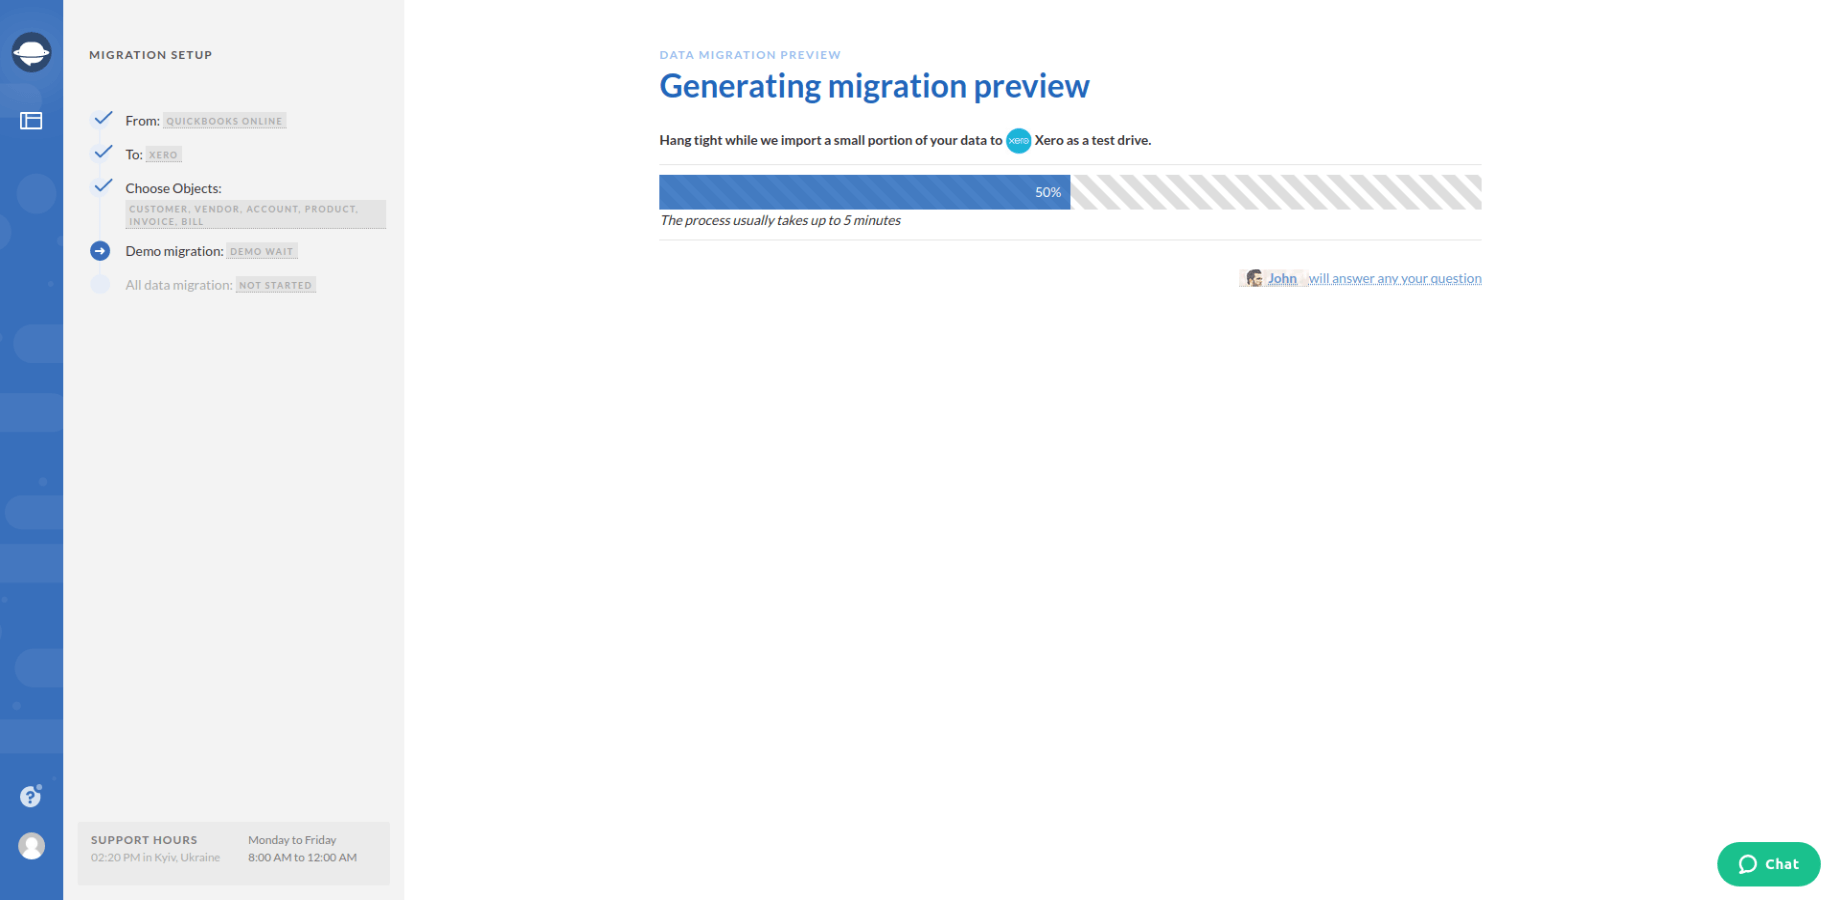
Step 5. The settings are done! Now it’s time to test the tool and see how your data migrates. This may take up to 5 minutes.
Step 6. When the test import is complete you will see this page. Here you how much data was imported into Xero as well as see the total of data you have in your source accounting software.
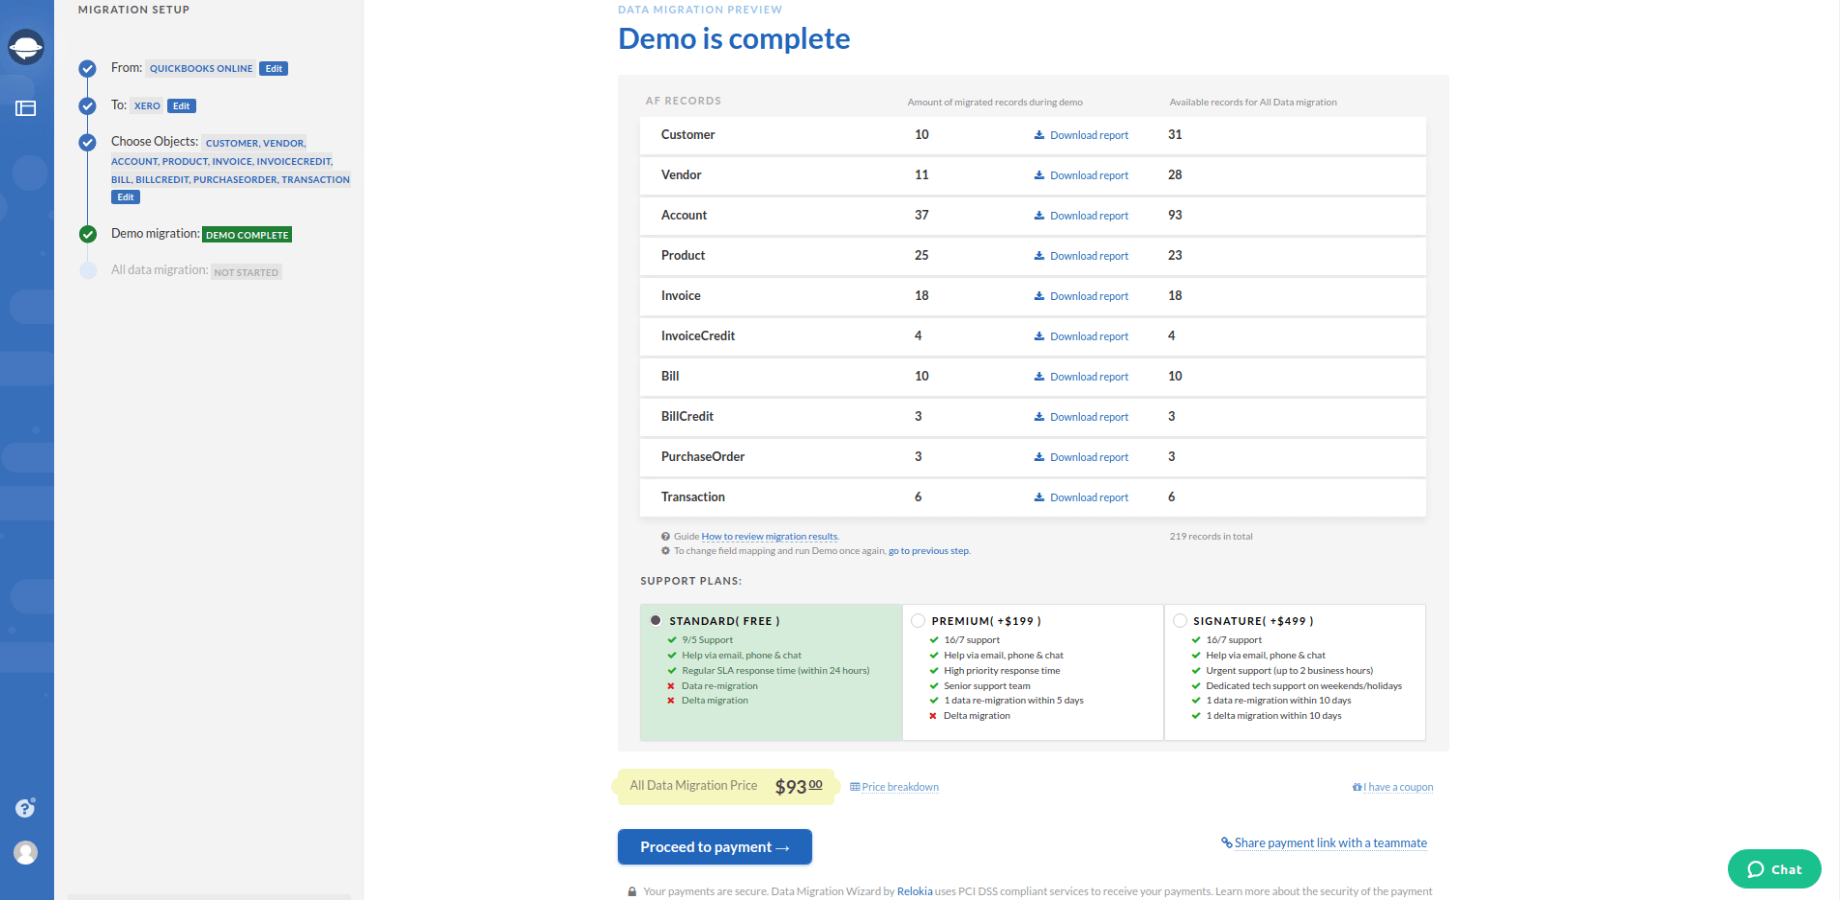
During this step, you need to carefully check the outcome of the test import. Go to Xero and check how everything migrated. If you migrated to a clean account then locating the data will be easy. If you already had some data, click the “Download report” button. In the file, you will find ID numbers of all imported data. Use them to locate bills, invoices, etc.
Last but not least, you can re-run the test as many times as you need. Simply go one step back and restart the test.
Step 7. When everything is tested and you’re happy with the result, you may start the Full Data Migration.
Data You Can Import to Xero
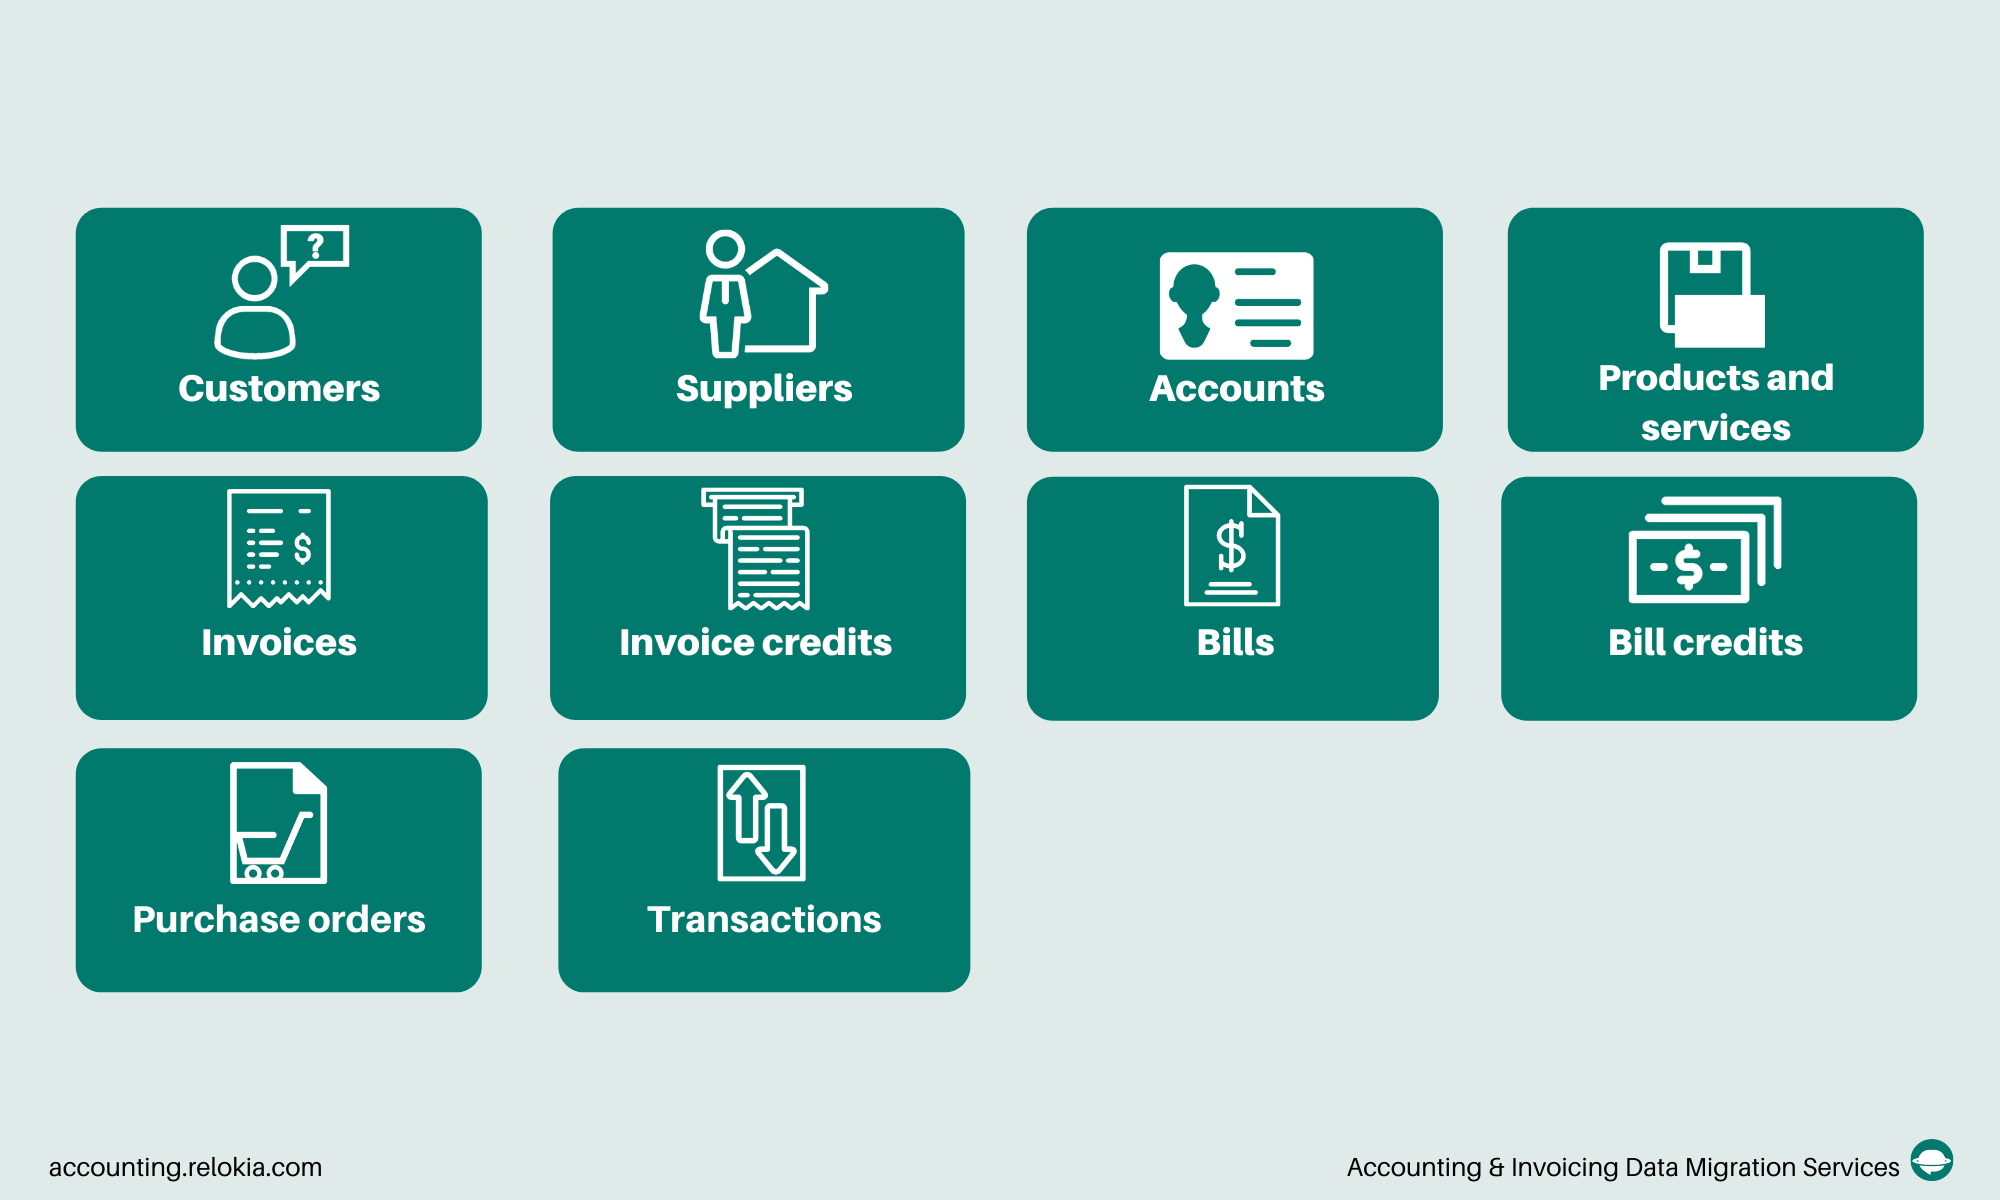
Currently, our Wizard can import such data to Xero:
Why You Should Consider An Automated Migration Tool
Manual migration is a time-consuming task. Copy-pasting bills and invoices will take ages. And trying to figure out other ways to import data into Xero. Relokia has been a trusted name in data migration since 2016. Thousands of businesses have used our services and expertise to make data migration simple and more pleasurable.
If you need help with planning or you have any questions, our experts are happy to help. And if you’re ready to import, then feel free to set up a free test.
Care-free Xero data import
Start using Xero with all accounting data in it
