Changing the accounting system can cause a serious headache. But, when you export Freshbooks data automatically, you don’t have the slightest need to worry. Now you can start working with your new accounting system more quickly.
It’s better than okay. It’s the perfect solution for you. Scroll down the article to study the data migration process.
Why Use the Automated Data Migration?
The manual data migration steals the most valuable thing, time. Your invoices and customers can’t wait for too long. For this reason, you need to use the Accounting System Migration service. Here are other benefits of our service:
- Your data migration consumes less time because of a user-friendly interface.
- Free Demo Migration lets you check how our app works and if your data moves seamlessly.
- Migration Wizard stores your data for up to 5 days so you won’t lose any vital records. For more details on that visit our Privacy Policy and SLA.
Export FreshBooks: The List of Data
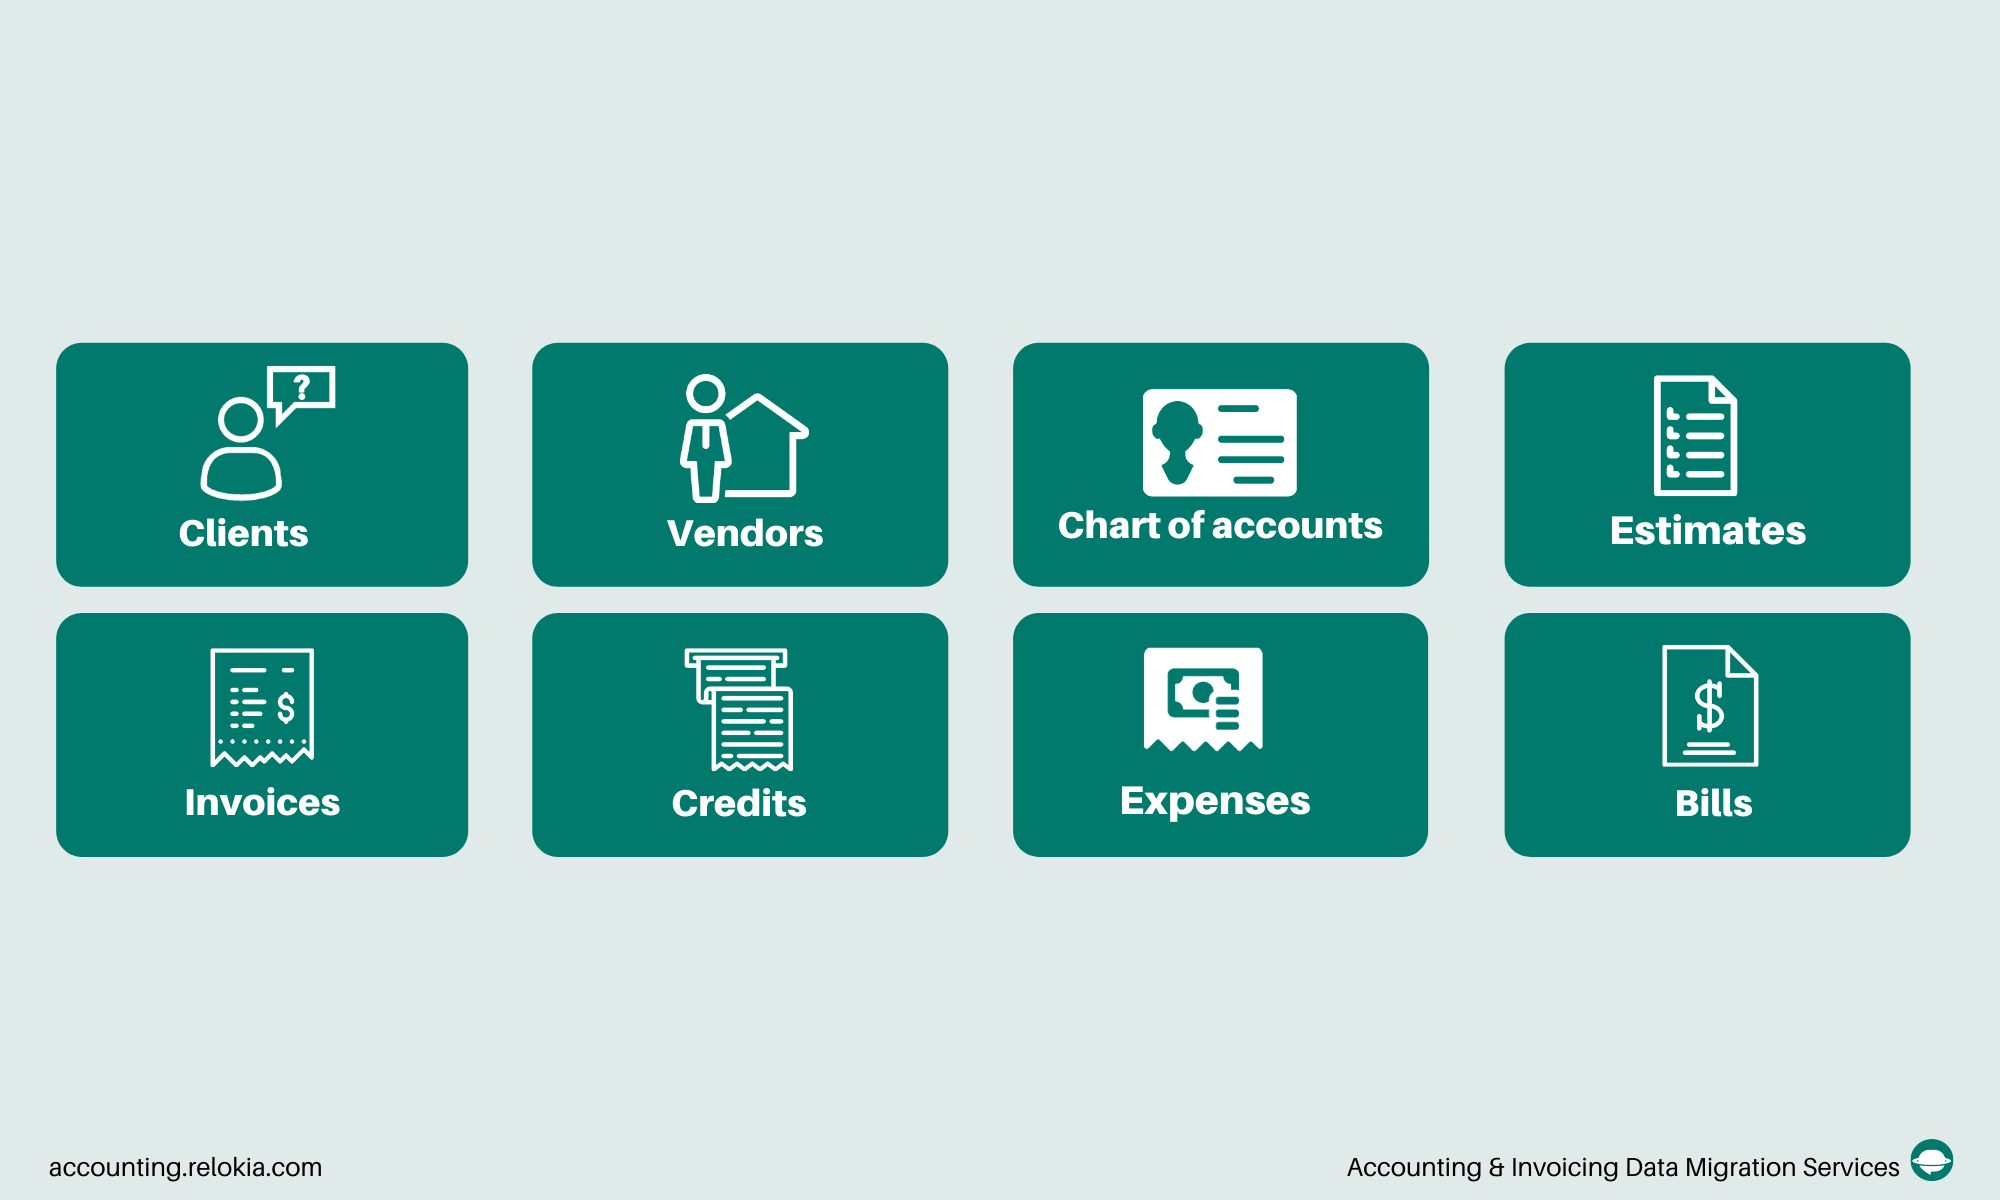
The Accounting System Migration Service lets you export the following FreshBooks records:

Note: If the data you would like to transfer isn’t supported for the automated transfer, you can easily contact our experts to set up the customized data migration.
Setting up Automated Export from FreshBooks
1. Go to the Migration Wizard and log into your account. if you don’t have one, sign in with your email or any other social media.
2. Select FreshBooks as your source platform and sign in with your account. This way our app receives permission to transfer your data.

3. Pick the needed Business, Default Income Account, Default Expense Account, and Default Payment Account to configure your FreshBooks connection.

4. Choose your target accounting system and provide all the necessary information.

5. Define the FreshBooks records you would like to move to a different solution. Study the table during this step so that you know if your accounting objects (AF objects) will have different names on the target platform.

6. When you are ready, launch the Free Demo Migration to see if your records migrate smoothly.

7. View the results of the Free Demo Migration by clicking on “Download report” next to objects.

8. If the results look good, initiate or schedule your Full Data Migration.
Note: Contact our data migration experts if you have any questions concerning your FreshBooks export.
To Conclude
Before you launch your Free Demo Migration from FreshBooks, overview the aspects below:
- Check if you have created a target accounting platform. You can look through all accounting software in Supported Platforms to decide where to migrate your data.
- Make sure you have access credentials to both systems.
- Ensure that your source and target platforms have the same currency.
With all the information you’ve collected here, you don't need to postpone your export from FreshBooks anymore. Make your switch from your current platform safe and seamless with the Accounting System Migration service.


