Migration to Odoo is your key to decrease costly bookkeeping mistakes and use your accounting resources effectively. No need to use the standardized bookkeeping templates and layouts over and over again when you can create your own with Odoo.
Here’s a straightforward guide on how to start your automated migration to Odoo in few steps.
Why Companies Start to Migrate to Odoo?
Odoo is an outstanding accounting system that helps your business grow. With its app, Odoo Accounting, experienced accountants can use electronic invoicing and create automated follow-ups.
Odoo simplifies the processes of creating and sending invoices and receiving online payments. Moreover, all your debtors get reminders automatically so you don’t need to write emails and follow-ups manually. With such features as:
- Bank Synchronization
- Invoicing
- Manage Bills & Expenses
- Easy Reconciliation
You save your time, get paid faster, and have all reports, cash flow statements, and balance sheets in one place.
In addition, you can simply integrate such apps as Sales, Expenses, Inventory, and Point of Sales to Odoo Accounting so as to automate your working processes fully.
Why Migrate to Odoo Automatically?
Accounting System Migration Service allows you to import such data:
- Customers
- Vendors
- Accounts
- Invoices along with their taxes, dates, and “Due” dates
- Bill together with their dates and “Due” dates
- Products
Look through these aspects before setting up your data migration:
- The statuses of invoices and bills don’t migrate.
- Your Database name is the name of your subdomain.
Note: You can customize your Odoo import if the data you want to transfer isn’t available for the automated data migration.
How to Set Up Your Migration to Odoo Accounting?
1. Go to Migration Wizard and sign in with your account. If you don’t have one, simply sign up with your email address or any social media of your choice.
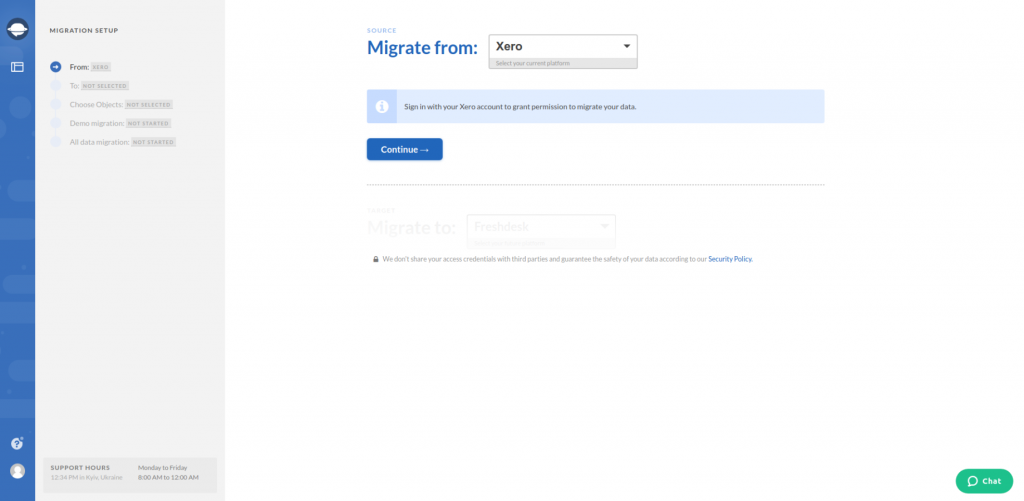
2. Choose your source accounting system and fill in the necessary information.
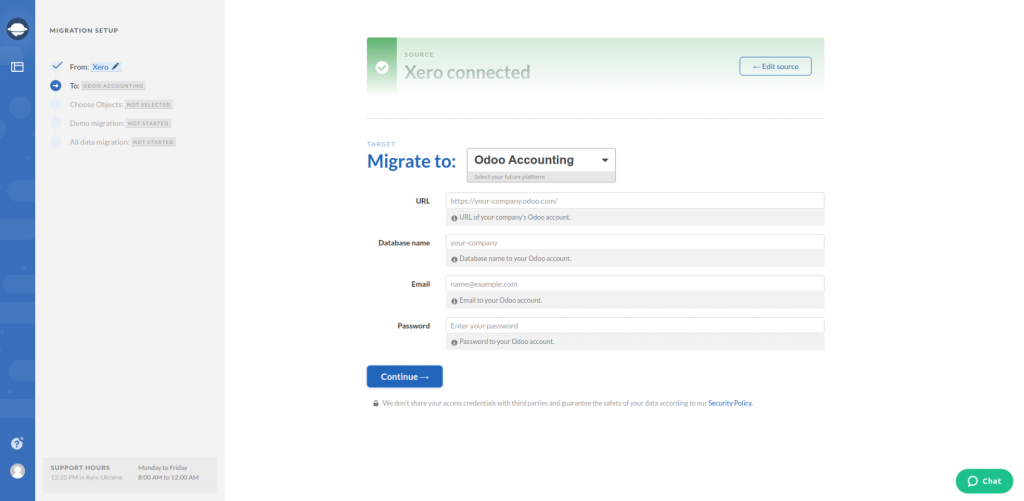
3. Select Odoo Accounting as your target platform and provide your URL, Database name, Email, and Password.
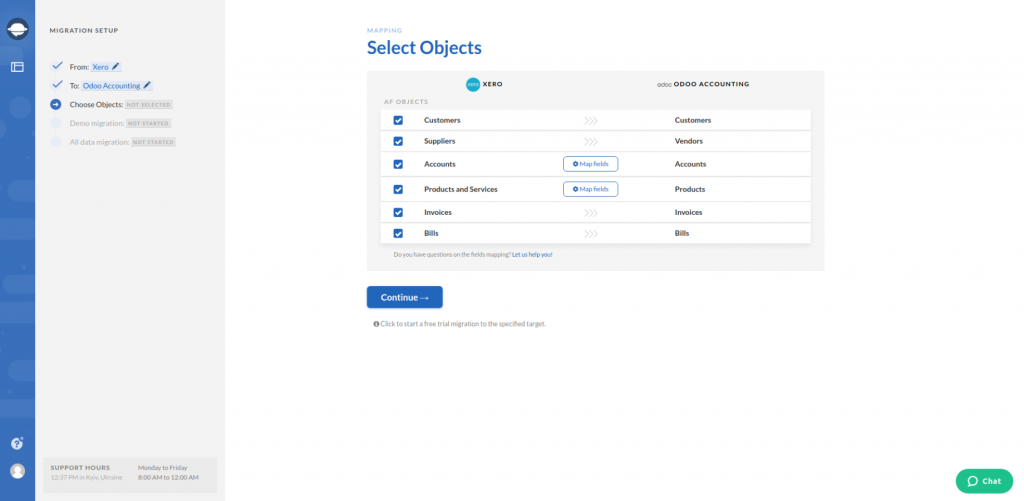
4. Pick the objects you want to migrate to Odoo Accounting. Carefully study the table as it can show you the modification the names of the certain objects can undergo.
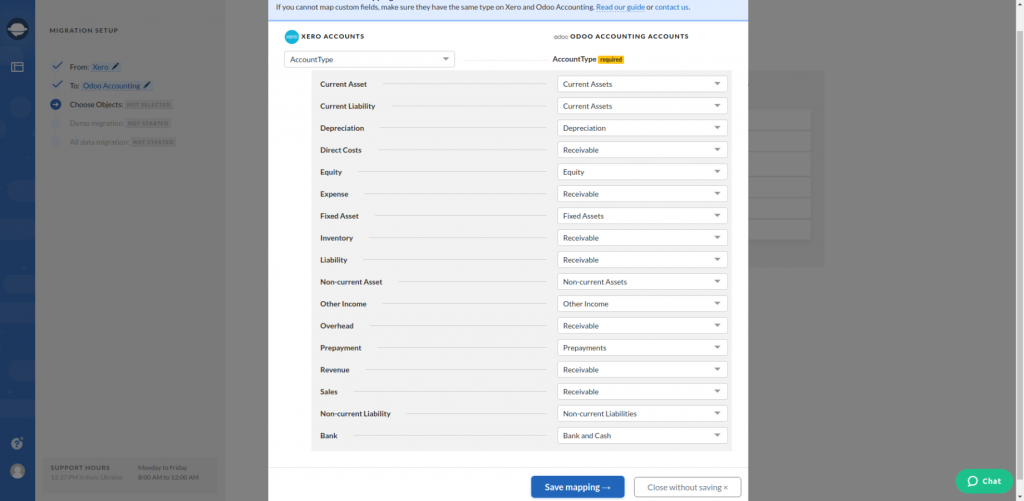
5. Set up the mapping of accounts. Match all the fields attentively so that you can find your data after the Odoo Accounting import.
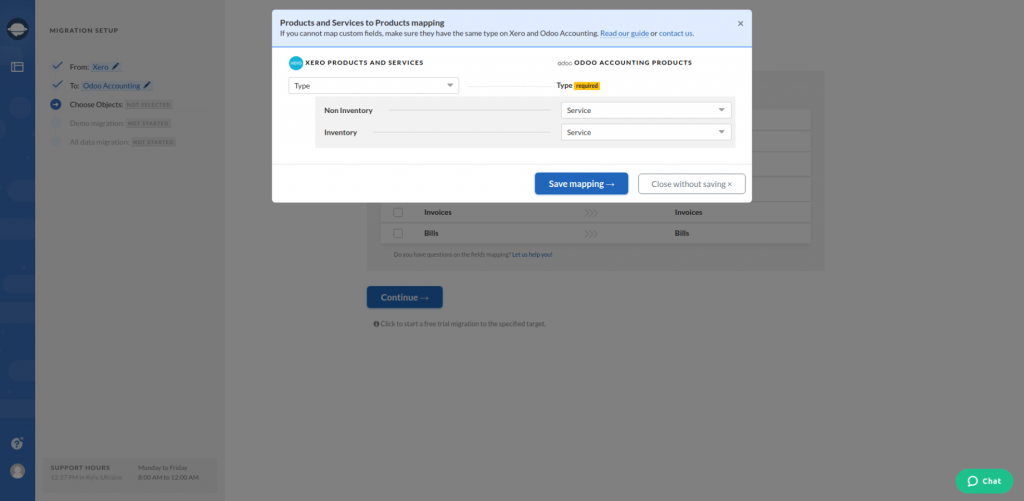
6. Do the mapping of products.
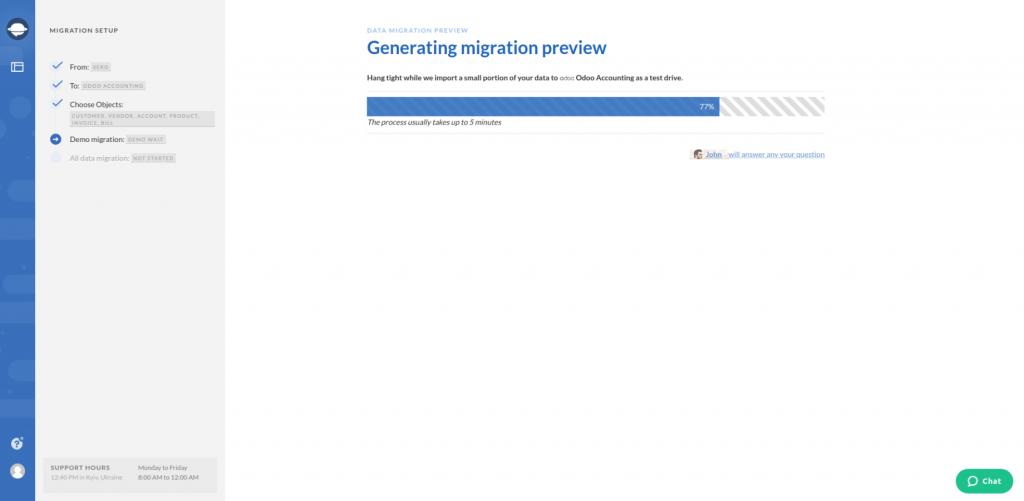
7. As soon as you are done with the previous steps, launch the Free Demo Migration. In this way, you will see if your data migrates correctly.
8. Press Download report next to each data objects to check the results of the Free Demo Migration.
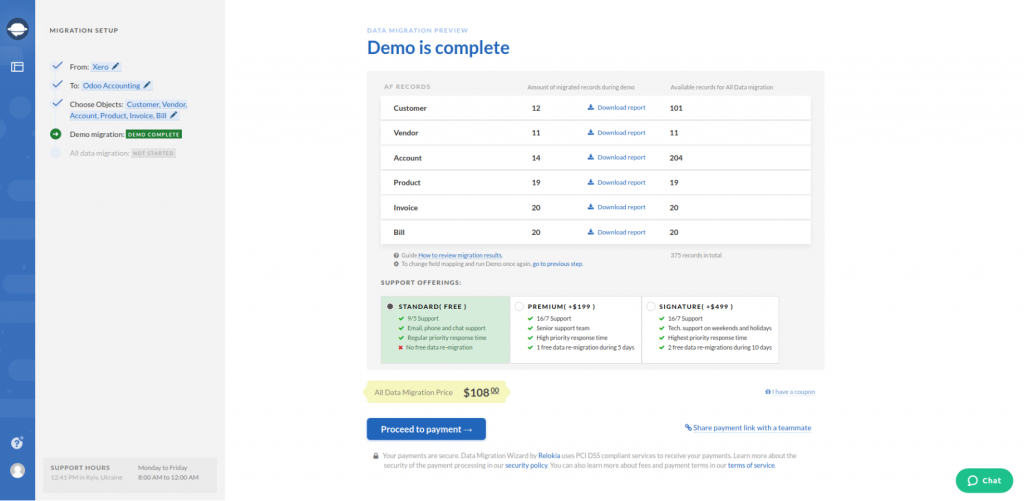
9. Proceed to the Full Data Migration if you are satisfied with the results of the Free Demo migration.
Note: Get in touch with our support team if you have any questions connected to your accounting data migration.
Wrap Up
Check these steps before performing the Full Data Migration:
- Make sure that you have access credentials to both accounting systems.
- Check if you have the same currency on both source and target platforms.
That’s how you ensure that your automated data migration to Odoo Accounting performs perfectly. With the help of the Accounting System Migration Service, you can get your hands over your invoices and bills right away.


